


Congratulations Alex Vincent, March 2024 PFRE Photographer of the Month! The theme this month was "Kitchen". Alex Vincent - #906 Yvonne Raaijmakers - #909 Peter Wingfield - #902 Here's what Alex has to say: Thank you for the award of Photographer of th ...

As an Amazon Associate we earn from qualifying purchases.
Are you thinking of adding real estate video to your services, yet you don't know where to start? To better serve clients and earn more, I'm going to discuss what you need to know when shooting a real estate video, including preparation, camera settings, composition tips, and shooting techniques.
Quick Navigation
Video marketing is an essential tool for homeowners and real estate agents when selling properties to potential buyers. To create a real estate video, you must develop a concept, use the proper equipment, and apply the appropriate camera settings. Likewise, you need to control lighting, manage compositions, and use transitions.
Before you get all pumped up for post-production, I'm going to give you the step-by-step process for a real estate video shoot.

Determining your goals is one way to help visualize what video clips to capture. In this way, you can plan how long it would take to shoot and prepare the necessary equipment.
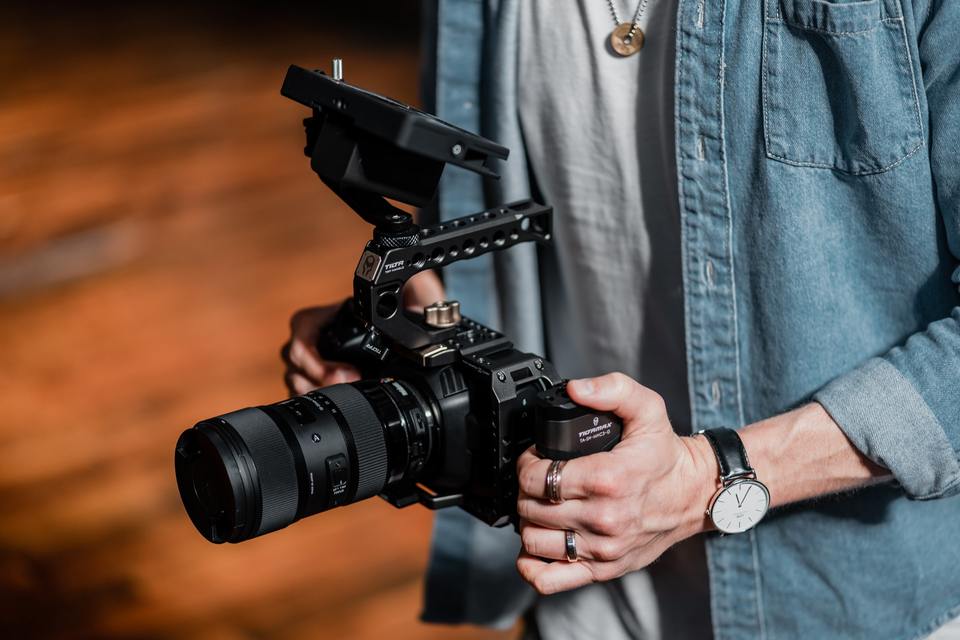
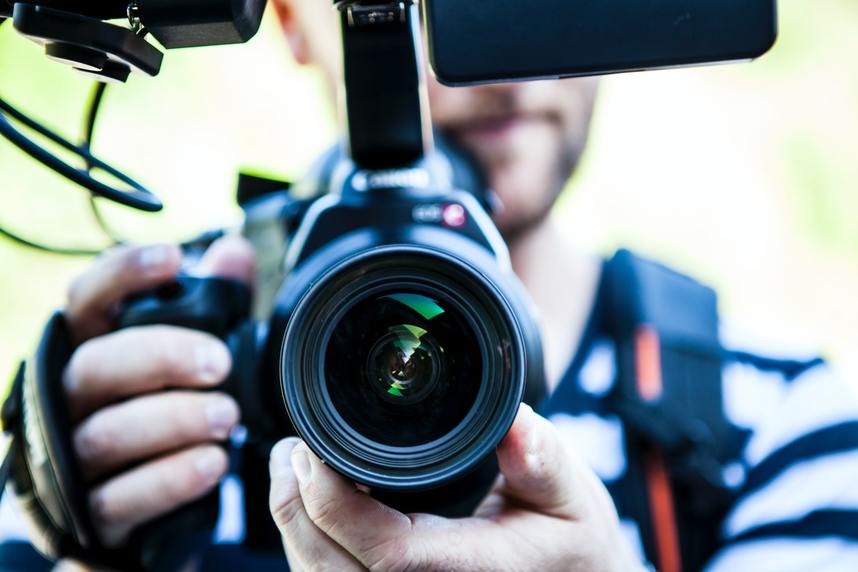
The equipment is somehow similar to real estate
Lighting is one of the most crucial elements to produce professional-looking real estate videos. The quality of illumination has a visual impact on how attractive or big the property looks on camera.

While the camera settings depend on the scene or your shooting style, you can follow these exposure settings tips to get an idea of how to adjust settings on manual mode for video.
Photographer and filmmaker Malia Campbell says that with filmmaking, you don’t have to worry about keeping a tight aperture as you do with
For interiors, you can do well around f/4 to f/8 since you might use a larger aperture for low-light situations. If it's bright outside, it would be better to use f/8 to f/22.
A rule in taking a video is to use a shutter speed that is roughly double your frame rate (180-degree rule). This will help the video appear more natural with very slight motion blur between frames.
For example, when shooting a clip at 4k/30p, you would want a shutter speed of 1/60th of a second.
Like when taking photos, it's best to keep your ISO as low as possible, especially with video, to avoid introducing too much noise. When filming in a dark interior, increase the ISO to 1250 to illuminate the scene. For exteriors, you can go really low, about 100 to 320.
Photographer and videographer Zoltan Present notes that auto ISO is the most useful addition if the exposure changes within your video clip. However, while auto ISO can eliminate the visible jump in exposure stops and make your video clips smooth, it also has a limited usable range.
Architecture and interior photographer Travis Rowan recommends setting the white balance according to the scene. You can mostly use Daylight settings except on some interiors that are predominantly lit by electric lights.
You can still choose whatever you think looks right and pleasing on the LCD. For instance, drop the color temperature to 2800K or so for bathrooms with no window light to create a cooler white balance.
Even though you may have to deliver the final output in 1080p, some real estate agents won't need anything better than 1080p, so you're good with filming everything in 4k. Besides, scaling down from 4k to 1080p can produce sharper footage than directly shooting at 1080p.
Furthermore, typical frame rates include 24p and 30p for editing a full HD timeline at 30 frames per second. Shoot at 60p for slow-mo shots, like showing fireplaces.
Everything in the room must be in focus, whether it's near or far. Set the lens to Auto, then AI Focus on the camera. Try to set the focus roughly 10 feet ahead of you before taking shots so that the camera doesn't auto-focus or readjust as you move.
There's no need to adjust the focal point between takes when filming multiple large-scale rooms. On the other hand, you may have to reset the focus when you want to emphasize smaller features of the space.
Composition in real estate video marketing really depends on each room. However, like in real estate
Real estate photographer Andre Mckenzie suggests learning how to read a room's design to determine how to compose a shot correctly.
Real estate video marketing aims to present a property's layout as best as possible while minimizing walk time so that the footage doesn't get too long.
While you can shoot static clips, incorporating some movements is much better. Otherwise, your video would look like a series of photos. Remember that some camera movements or transitions work best for different scenarios.
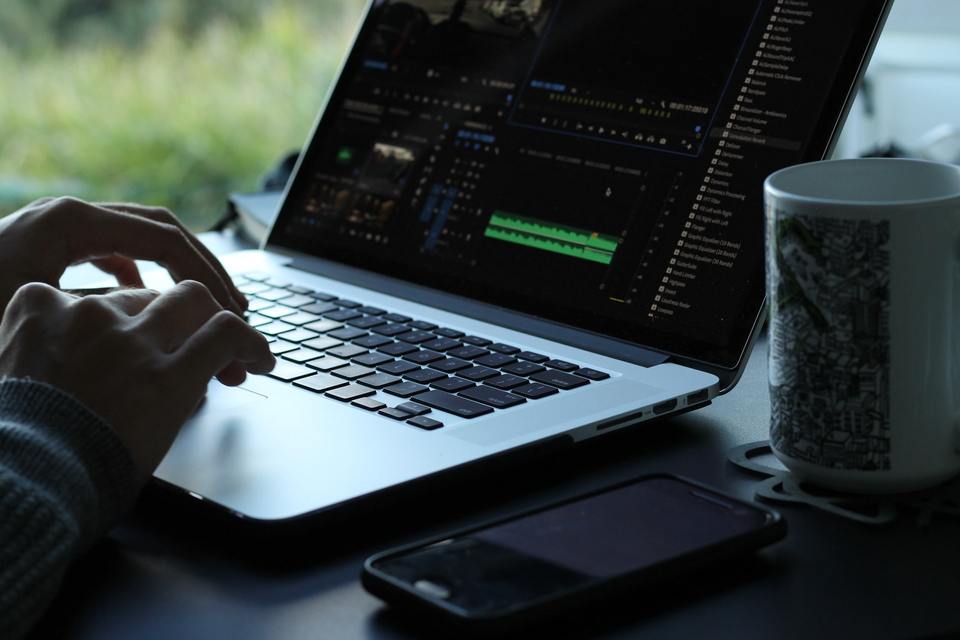
Post-production is an essential part of real estate video marketing because this is where you can stitch everything together and create a cohesive narrative. As opposed to other kinds of videography where clients want aesthetic transitions and effects, real estate videos only require simple post-processing. Which is why it is important to get the best video editing software in the market.
What's important is to connect all clips with a smooth flow as if an actual person is touring the property. Combine stills and transitions until you see which looks great. Moreover, ensure that all shots have even lighting and that the color grading matches the house or commercial property's mood.
Make sure to ask clients if they want you to add texts such as brand details, as well company name, email, or website. Double-check the creative brief for instructions regarding fonts, colors, music, voiceover, graphics, or animation.
If you want to set your work apart from everyone else, think like a filmmaker. Also, read Uwe Steinmueller's Mastering HD Video with Your DSLR.
About 2 to 6 minutes is the rule of thumb in real estate videos. While the length may vary depending on the client's requests, it's vital that the video isn't too short to lack details, yet not too long to draw away interest.
You can charge video production higher than your typical photography fees. A real estate video's average price can range anywhere between $1,000 to $10,000 per minute.
Now that you know the basics of shooting a real estate video, it's time to prepare a concept for your next client. As you apply these tips, you can grow your real estate


With video, you have far wider latitude for higher ISO, as long as you don't under-expose. Noise shows up in spades if you do underexpose. For indoors, sticking with 5.6 1/60th is a good general rule, and then use your histogram to raise the ISO until greatest mass falls into center, or even slightly right of center. It probably will be higher then you initially feel comfortable with, like 5000iso. But since your video is mostly likely destined for YouTube at 1080p, it will be fine. Some video noise is acceptable. Most of the Hollywood movies I watch have tons of noise in dimly lit scenes, it's a hazard of that situation.
Learn to shoot in Log, or even RAW if your camera supports it. Of all the picture profiles, it has the most range. Both in high density, and in managing color. Keep in mind that using other profiles is like shooting baked jpegs at 30 frames a second, an irrecoverable mess to deal with. Also learn how to create LUTs do manage the Log files. It save a crap ton of work on the back end. If you can create a great LUT that matches your camera and your vision intent, that LUT will work for 90% of what you shoot, even when what's before you changes. You can then create a template in your editing program with that LUT already in place in an adjustment layer. To tweak for each clip, you just add an extra Lumetri into your clip, and compensate for differences.
I do shoot with one item on AUTO. Color balance. While I don't recommend it for any other kind of shooting, it's almost a necessity for video. And that's because you don't have a budget for gaffers who have gone in before you and matched the entire house's light bulbs to the same color, not to mention that incoming ambient from outdoors can be blue, green, or orange depending on time of day and what side of the house your shooting. If your doing a long take that walks through multiple rooms, each room may in fact have a different color balance that you can't adjust on-the-fly. Even the camera wont exactly keep up with that, but in post, you can make sense of it with Lumetri using the animation toggles. IF you dont know what any of that means, Google is your friend. And, you can always switch to manual color balancing at any time, in the unlikely event that your entire property is fitted with matching bulbs. In 300+ videos, I think I've come across that once. 😉
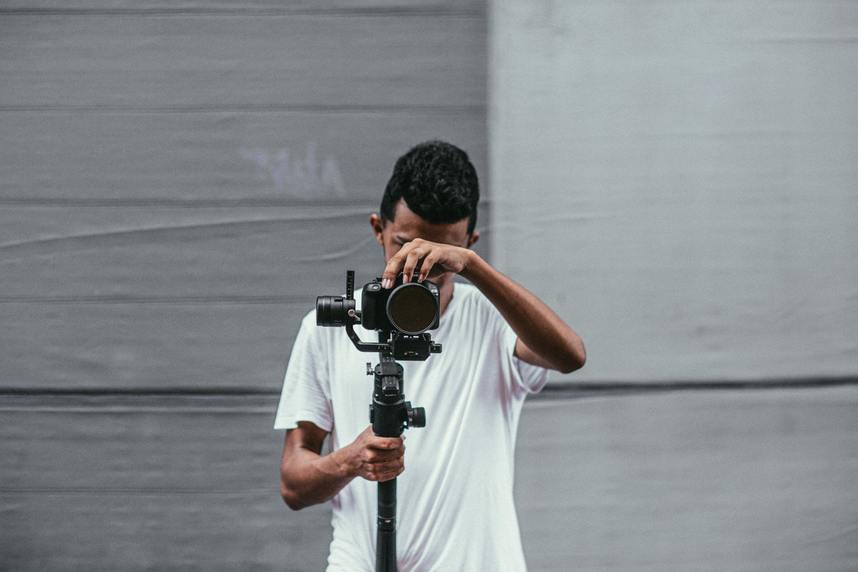
Finally, getting comfortable with a hand-held gimbal will save an unbelievable amount of time shooting, because you can simulate almost any other piece of gear with a gimbal. (dolly track, slider, crane, and even a tripod sometimes) Extra gear = extra time.
This is a great post! Thank you all for the insight.
I was curious about music. Where are you getting it and how do you make sure that you’re licensed properly. Additionally how do you factor it into your cost and what if the realtor doesn’t like the track you chose?
- Justin
So many great tips here. This entire page is gold for people starting out. If someone starting out in video saw this page...they just skipped a ton of headaches. Nice write-up.
In my take, this page is fool's gold - a harmful distraction from what should be the initial focus for starting out in real estate video.
Technique and technical competence should be the focus only after you've developed a video product that works for buyers and for real estate agents. You can do that with a smartphone with a wide-angle adapter and an inexpensive gimbal. If you have a good mirrorless camera with a wide angle lens and a gimbal, shoot with those on auto settings for video.
Shoot straight-through, narrated or captioned walk-throughs. Buyers like them and agents can use them both to get listings and to make their time more productive by sending them to buyers as a pre-qualifying tool.
You'll find these take only a few minutes to shoot and not much time to edit and upload to your YouTube channel. They can be cost-effective for agents and profitable for you.
Work on upgrading your quality after you're making money with video.
The last comment by Joe Zekas is 100% opposite the approach we took. Maybe it works if you enjoy the crumbs of the industry.
Creating a crap product, will create a crap brand, with crap clients, and continual crap work that will define you.
Pushing yourself to do better for the start, even just to prove it to yourself, is how you move up in the industry.
When we started (7-8 years ago), we charged $1,500 for our first interiors video. Never charged less...and never provided anything but our best work. Projects now sit $3K-$10K for an interiors/exteriors videos. Our music only tours start at $3K.
If we would have used our steadicam to fast-track the shoots...we would not be where we are now.
Reach for the stars...not the ceiling.
Joe isn't necessarily wrong but his approach and end goal isn't necessarily mine or others'. I don't create videos for buyers. I don't do walk through videos or matterports or, really, videos. I'm creating branding for my clients and you can't do that by taking the cheap or easy route. If you want to run and gun video then, yeah, Joe is spot on but you're digging yourself in a hole when you do that - it'll be that much harder to ever get better jobs, higher paying clients, work outside of real estate... If that's your jam the cheers. I'd rather not run that race and those starting out in filmmaking should know that there are other options.
Take a few minutes and look at my "crap clients."
They're some of the largest, savviest, most sophisticated management companies in the country who oversee and market the most luxurious new apartment buildings in Chicago. In my niche, there are no "better jobs." As to "higher paying" - sure, on a per-video basis, but not likely on an hourly basis or in the aggregate.
Camera
Sony A7S 11 or any Sony mirrorless which shoots XAVC S Codec
XAVC S Codec= Smaller than pro-rez and more latitude in Davinci for grading
ISO= Can Crank ISO to 15k with no noise. Very useful on interiors / Real Estate in general
Have not found any codec on a sub 30k camera to perform as well as XAVC S.
Shoot Flat
Profile: On Sony this is profile #6, or # 7. Flat contrast, Desaturated, no-sharpening
Grading: Requires Grading in Davinci. Please learn to grade prior to using on a paid shoot.
Shoot Light
Sony Mirrorless
DJI Ronin S
Rode Wireless Mic
post
Davinci Resolve Light (Free) here: https://www.blackmagicdesign.com/products/davinciresolve/
Premiere, FCP, or anything as long as you know the theory.