PFRE-Logo-white-bg
Reading
blue-triangle-element

Articles

PFRE is the original online resource for real estate and interior photographers. Since 2006, it has been a community hub where like-minded professionals from around the world gather to share information with a common goal of improving their work and advancing their business. With thousands of articles, covering hundreds of topics, PFRE offers the most robust collection of educational material in our field. The history of real estate photography has been documented within these pages.
All Articles
blue-triangle-element

Latest

Image banner for the March 2024 PFRE Photographer of the Month Winner Alex Vincent, with a featured image of his winning photo titled "Kitchen."

Congratulations Alex Vincent, March 2024 PFRE Photographer of the Month! The theme this month was "Kitchen". Alex Vincent - #906 Yvonne Raaijmakers - #909 Peter Wingfield - #902 Here's what Alex has to say: Thank you for the award of Photographer of th ...

Contest
blue-triangle-element

OVERVIEW

For over a decade, photographers from around the world have participated in PFRE’s monthly photography contests, culminating in the year-end crowning of PFRE’s Photographer of the Year. With a new theme each month and commentary offered by some of the finest real estate & interior photographers anywhere, these contests offer a fun, competitive environment with rich learning opportunities. 

Contest Rules
blue-triangle-element

CURRENT CONTESTS

View / Submit
blue-triangle-element

PAST CONTESTS

View Archive
Resources
blue-triangle-element

Resources

PFRE prides itself on the depth and breadth of the information and professional development resources it makes available to our community. Our goal is to help real estate and interior photographers be successful while bringing the community together and elevating the industry as a whole.
blue-triangle-element

Conference News

No items found

Real Estate Photography Camera Settings

Published: 11/03/2021

As an Amazon Associate we earn from qualifying purchases.

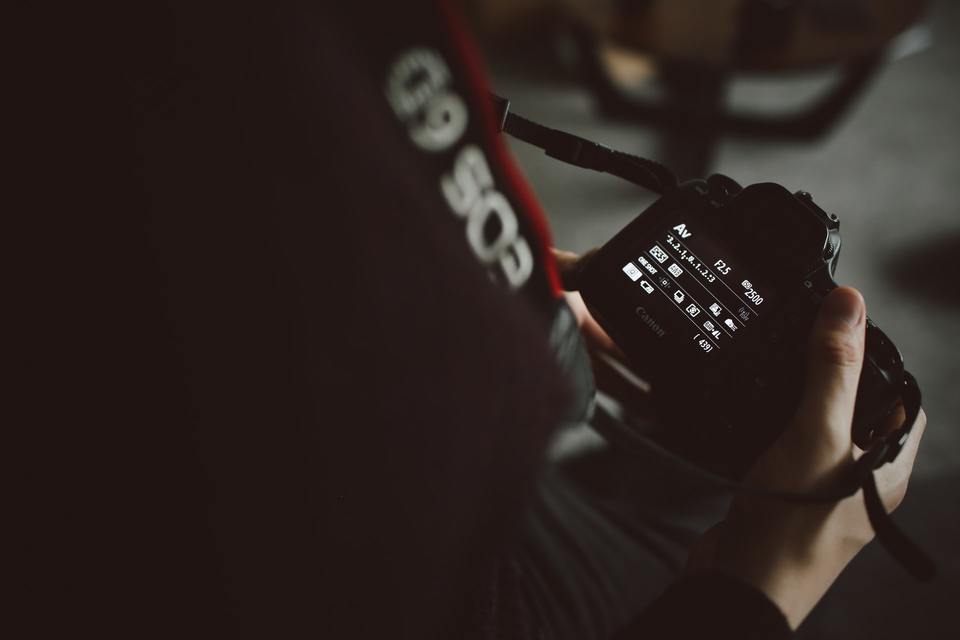
Even with the most expensive camera, you won't be able to maximize its abilities if you don't know how to adjust its settings. For this reason, I'm going to discuss real estate photography camera settings to make the most out of your equipment and capture stunning images that can sell properties.

Real Estate Photography Camera Settings

Real estate properties have different sizes, layouts, and features, so there's no one-size-fits-all approach. However, a good starting point would be adjusting the aperture, shutter speed, and ISO depending on the available light.

Aside from that, you need to choose the appropriate shooting mode, white balance, focus, metering mode, as well as file type and size. 

File Type

Listings with images sell 50% faster than others, so it's important that you know the camera settings to take professional photos. Besides exposure, the first thing you need to set is the file type. Avoid changing it as you shoot so that you can have a consistent image quality.

Man photographing house exterior

Similar to other kinds of photography, it's best to use RAW because it doesn't compress any data, retaining all information for you to edit. However, RAW files are greater in size, so JPEG is a good alternative if you want to save up space.

Exposure Mode 

There are different kinds of shooting or exposure modes, and using the right one depends on the level of control you want. 

  • Automatic: This shooting mode lets the camera select the optimum aperture, shutter speed, ISO, and flash settings. This can be good if you need to shoot abruptly and can't think of the right settings.
  • Manual: This exposure mode is ideal for shooting real estate photos, especially when you need to capture bracketed images.
  • Aperture Priority: When it comes to real estate photography, the aperture is more of a big deal than shutter speed. Setting the camera to Aperture Priority enables you to assign an aperture while letting the camera change the shutter speed as you shoot.
  • Shutter Priority: Being the exact opposite of Aperture Priority, Shutter Priority allows you to control shutter speed while the camera manages the aperture.

Aperture

Setting the aperture is where things can get a bit tricky as this determines how much light can reach the camera sensor. Remember, you need a wider opening or a smaller f-stop to achieve brighter photos.

Even though lenses normally are sharpest around the aperture range's midpoint, there are varying shooting conditions in real estate, so you need different ways to adjust aperture settings.

  • Keep the range between f/2.8 to f/5.6 for a wide opening.
  • Select a narrow aperture value if the scene becomes too bright.
  • If you need to highlight the texture of a countertop or details of a cabinet, you can use a small aperture, like f/2, to blur the background.
  • Use larger apertures if you need to capture all details from foreground to background. This is helpful if you also need to focus on furniture on the floor.

ISO

You need to balance sharpness and light sensitivity while keeping the ISO range between 100 to 400 to get sharp and clear photos. However, increasing the ISO may result in image noise and grain.

Nevertheless, you can try different ISO settings to determine how far you can go without reducing image quality.

For example, raise the ISO to 320 when using a wide-angle lens with a fast shutter speed and flash. If you're shooting in a dark area with no additional light, you can boost the ISO to 400.

Shutter Speed

The shutter speed dictates how long a lens stays open to allow light to hit the camera sensor. Thus, the value greatly depends on the available lighting in a space. You can typically set the shutter speed after applying the necessary values for aperture and ISO.

  • If you would use Aperture Priority, the camera would automatically select the shutter speed according to the scene.
  • If you prefer to set the shutter speed manually, you can keep it between 1/60 and 1/2 of a second since the subjects are not in motion.
  • Use very slow shutter speeds to compensate for narrow apertures.
  • When you have a tripod, you can use a slow shutter speed to take advantage of natural or ambient light.
  • Choose a longer shutter speed if you're using a low ISO.
  • For HDR real estate photography, change the shutter speed for each frame to get different exposures.

White Balance

When selecting white balance, it's essential that you pick the one closest to what your eyes can see through the viewfinder. Generally, you can use Auto white balance for real estate photography because it can choose the appropriate color temperature in various types of light.

However, you don't have to spend too much time changing the white balance, as you can easily fix this aspect in Lightroom.

Interior dining and living space

Focus Mode

You can use both manual focus and autofocus when photographing real estate. Sometimes, it's just a matter of what works well in your situation or which one you're most comfortable using. 

For instance, manual focus is ideal should you want more control when determining the sharpest focus. If you need help focusing, it's ideal to shift to autofocus. However, the broad perspective of real estate shots can even confuse autofocus systems where to focus.

If you're going to use autofocus, set the camera into Single-Shot AF, which enables you to choose a focus point while the camera finds the contrast in the single focus point. In effect, you can lock the focus even if you half-press the shutter button.

Metering Mode

The metering mode indicates how your camera determines the exposure. There is no universal setting for the metering mode, as this depends on your style or the type of space. However, the best one should help you correct exposure and highlight details.

  • Spot Metering: This mode is commonly used for real estate photography because it evaluates the available light around the focus point while ignoring everything else, even if the background is dark or bright.
  • Matrix Metering: This metering divides the whole frame into zones, which it analyzes individually for light and dark tones. You can use this for your real estate shots when you're struggling with low to medium-contrast scenes.
  • Center-Weighted Metering: You can use center-weighted metering if you want the camera to prioritize the middle part of a frame. Hence, this is only suitable for real estate portraits of agents, or you want to highlight a space's particular feature. 

Flash Settings

Using a flash is not all about attaching a unit to a camera; you also need to adjust the camera settings. With the correct settings, a flash can further illuminate a scene and take high-quality real estate photos.

  • An aperture of f/6.3 to f/8 would be a good starting point to get a broader depth of field and lots of light. This level also ensures the shutter speed doesn't go beyond 1/200, preventing you from having overexposed shots.
  • Start with ISO 200 to 320 to guarantee image sharpness without image noise.
  • With a 1/200 shutter speed, the camera's shutter opens fast enough while being in sync with the flash speed.
  • Set the flash power to lower levels like 1/16, then increase if necessary.

File Size

Ideally, image file sizes should be between 3 to 10 MB because they are usually suitable for portals. Some listing websites may reject larger file types and sizes, so make sure to verify this with the portal or client.

RAW Format

You should capture your photos in RAW format as it contains unprocessed and uncompressed image data, allowing you to capture every detail you see in the viewfinder. The RAW format stores larger amounts of details than any other file type, enabling you to later edit before converting to other formats.

Sample Camera Settings for Real Estate Photography

About 48% of real estate firms think technological changes are among the biggest challenges they need to face. Hence, it's your job as a real estate photographer to assist them in the aspect of visuals.

Now, it's time to combine the different camera settings and apply them in typical real estate photography situations. Note that the following samples don't apply to all cases, so use these as a guide when experimenting.

Well-Lit Interiors

When shooting interiors with natural or external lights, these settings can serve as your starting point.

  • Image Quality: RAW
  • Exposure Mode: Aperture Priority
  • Aperture: f/8 to f/11 for an entire room shoot, f/2 for detailed shots
  • ISO: 100 without flash, 320 to 400 with flash, or reduce to 200 when it's too bright
  • Shutter Speed: Determined by the camera
  • White Balance: Auto
  • Focus Mode: Single-Shot Autofocus
  • Metering Mode: Spot or Matrix
Room with office space

Dark Interiors

For darker rooms or spaces with a wide dynamic range, these camera settings can help you take well-exposed pictures with sharp details.

  • Image Quality: RAW
  • Exposure Mode: Aperture Priority
  • Aperture: f/8 to f/11 for an entire room shoot, f/2 for detailed shots
  • ISO: 400
  • Shutter Speed: Determined by the camera
  • White Balance: Auto
  • Focus Mode: Single-Shot Autofocus
  • Metering Mode: Spot

Additionally, set the camera to continuous shooting mode if you'll be taking bracketed images.

Daytime Exteriors

Photographing daytime exteriors means facing either bright sun or overcast light, so the following camera settings are a good place to start.

  • Image Quality: RAW
  • Exposure Mode: Aperture Priority
  • Aperture: f/8 to f/11
  • ISO: 100
  • Shutter Speed: Determined by the camera
  • White Balance: Auto
  • Focus Mode: Single-Shot Autofocus
  • Metering Mode: Spot

Nighttime Exteriors

When shooting outdoors at night, you may find it difficult to focus and get clearer details.

  • Image Quality: RAW
  • Exposure Mode: Aperture Priority
  • Aperture: f/8 to f/11
  • ISO: 400
  • Shutter Speed: Determined by the camera
  • White Balance: Auto
  • Focus Mode: Single-Shot Autofocus
  • Metering Mode: Spot

Why Professional Real Estate Photos Matter

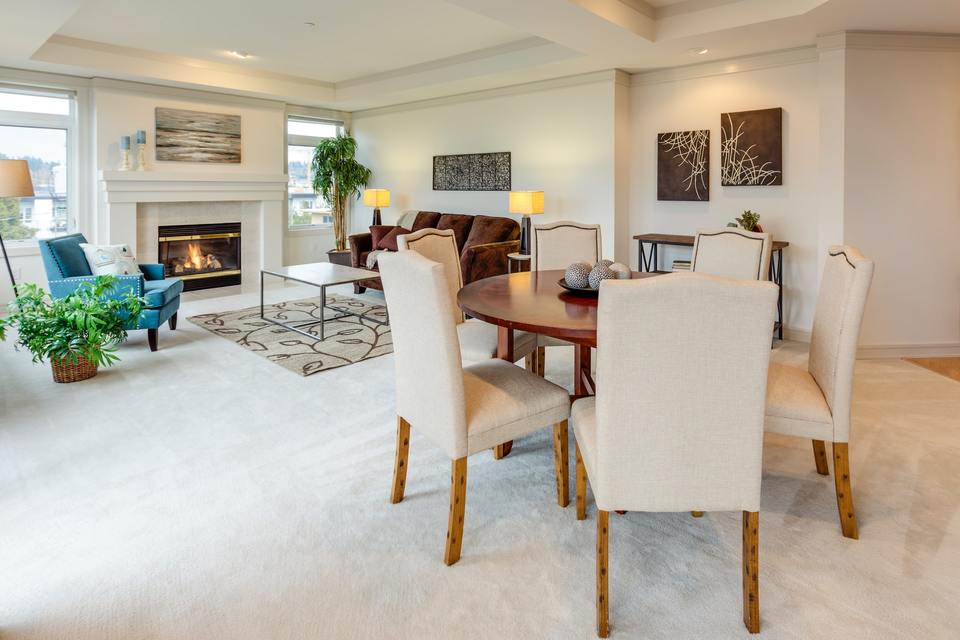
In most cases, home buyers do their home search online, and the photos you post play an important role and may or may not give the buyer the interest of seeing the property in person. Keeping in mind that virtual home buying is becoming popular, having quality photos is essential when virtually staging them.

An empty room captured from a wrong angle too zoomed in, or poorly lit might not look attractive. Generally, homes with photos captured professionally with a high-end camera sell at a higher price than that of a smartphone. 

High-quality photos capture the true look and feel of a home giving it an emotional appeal. The following are some qualities that make a real estate photo impressive.

Lighting

Make sure you have sufficient natural light with warm and inviting colors. Unless artificial lighting adds value and character to the room, you should turn off every light in the room to avoid color casts and facilitate simple editing.

Usually, you may get some impressive photos by shooting exterior photos in the morning or afternoon. You may also open the windows to allow sunlight to fill the room and use net curtains to help reduce the contrast from the windows when taking interior photos.

Angle

Most seasoned real estate photographers use a wide-angle lens when shooting real estate photos. A wide-angle lens captures at a smaller focal length, at a perfect angle, and emphasizes the space. You should avoid using fisheye and other bloating techniques as they create an unrealistic sense of space.

Details

A real estate photo should expertly capture the details of the entire room. For instance, a quality photo allows you to view out of the window in the window reflection.

The Camera Gear You Need to Shoot High-Quality Real Estate Photos

Even with the best camera settings, you might not capture high-quality real estate photos if you don’t use the following photography equipment.

  • A tripod: Helps to minimize camera shake. Ensure you set it at eye height
  • External flash system: Helps to illuminate dark interiors
  • Modern SLR cropped sensor or full-frame camera: Helps to capture high-resolution images
  • Wide-angle lens: Helps to emphasize space
  • Storage cards and memory card cases

How to Shoot Real Estate Interior Photos in Challenging Light

The biggest challenge you may encounter while shooting real estate interiors is the wide dynamic range that results from capturing a dark room with bright windows. However, you can use the following tips to bracket the exposure.

  • Focus the camera on a region that is not too bright or too dark
  • Look at the camera's shutter speed and switch from aperture priority to manual mode. Make sure the shutter speed does not change.
  • Set the camera to Auto Exposure Bracketing ( AEB)
  • On the AEB menu, set the exposure increment to +/- 2EV
  • Switch the camera to continuous shooting mode and press the Shutter button after framing the shot
  • The shutter button produces multiple clicks indicating that it has captured the bracketed photos.

Conclusion

Knowing which camera settings to apply in real estate photography significantly affects the overall quality of your images. It can be intimidating at first, yet you can overcome this with patience and practice, and the effort will be worth it.

Vendors

Rela Logo
CS6 PSE Logo
HD Photo Hub Logo
FullFrame Logo

Learning Topics

.
magnifiercrossmenucross-circle