PFRE-Logo-white-bg
Reading
blue-triangle-element

Articles

PFRE is the original online resource for real estate and interior photographers. Since 2006, it has been a community hub where like-minded professionals from around the world gather to share information with a common goal of improving their work and advancing their business. With thousands of articles, covering hundreds of topics, PFRE offers the most robust collection of educational material in our field. The history of real estate photography has been documented within these pages.
All Articles
blue-triangle-element

Latest

Image banner for the March 2024 PFRE Photographer of the Month Winner Alex Vincent, with a featured image of his winning photo titled "Kitchen."

Congratulations Alex Vincent, March 2024 PFRE Photographer of the Month! The theme this month was "Kitchen". Alex Vincent - #906 Yvonne Raaijmakers - #909 Peter Wingfield - #902 Here's what Alex has to say: Thank you for the award of Photographer of th ...

Contest
blue-triangle-element

OVERVIEW

For over a decade, photographers from around the world have participated in PFRE’s monthly photography contests, culminating in the year-end crowning of PFRE’s Photographer of the Year. With a new theme each month and commentary offered by some of the finest real estate & interior photographers anywhere, these contests offer a fun, competitive environment with rich learning opportunities. 

Contest Rules
blue-triangle-element

CURRENT CONTESTS

View / Submit
blue-triangle-element

PAST CONTESTS

View Archive
Resources
blue-triangle-element

Resources

PFRE prides itself on the depth and breadth of the information and professional development resources it makes available to our community. Our goal is to help real estate and interior photographers be successful while bringing the community together and elevating the industry as a whole.
blue-triangle-element

Conference News

No items found

How to Make a Border in Photoshop

Published: 26/01/2022

As an Amazon Associate we earn from qualifying purchases.

After taking a well-composed shot, you may think you need to add more flair to the photo, especially if you need to print it. We're giving you a step-by-step guide on how to make a border in Photoshop to add a design element to your real estate images.

How to Make a Border in Photoshop

To create a simple, solid-colored border around your real estate photo, flatten the image and create a single background layer in Photoshop. Change the Canvas Size, identify the frame's dimensions, then select the border color using the Color Picker tool. 

You can further customize the border using an Adjustment layer and Brush tool. Follow these detailed steps to create a border for your real estate photos using Photoshop.

1. Open the Image in Photoshop

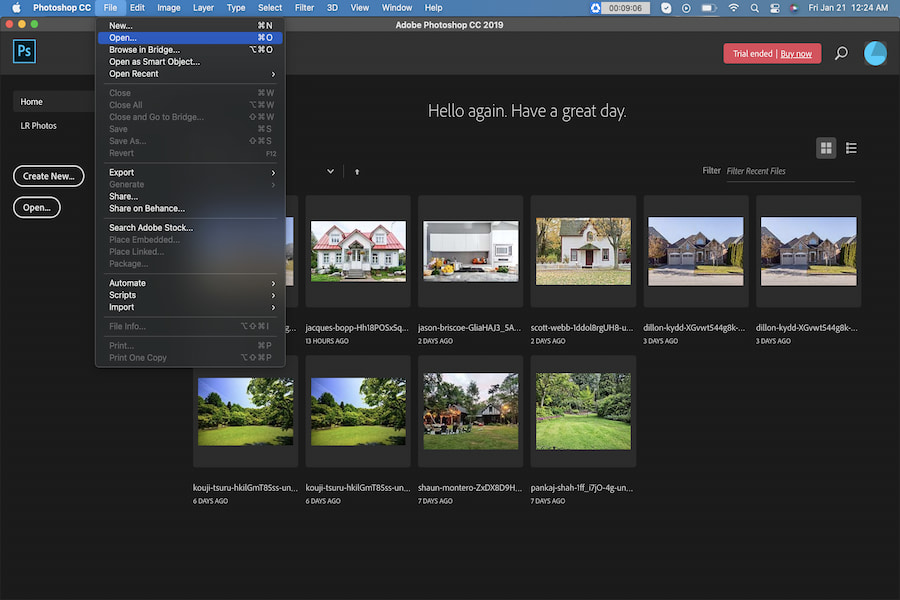
Before anything else, apply the presets on Lightroom or make the necessary changes to the image before placing a border. After that, to open an image in Photoshop, click on File > Open to pick the file you want to use. When a dialog box appears, you can set format-specific options.

Open an image in Photoshop

2. Create a Single Background Layer

Images edited in Photoshop will have multiple layers, so you need to merge or flatten them to create a single background layer.  To do this, click on the Layers Panel on the bottom right side, then select all active layers. After that, click on the Flatten Image option from the drop-down menu.

3. Unlock the Background Layer

When you check the Layers panel, you will see your chosen image on the Background layer. You need to unlock the Background layer to add other layers beneath it.

  • If using Photoshop CC, click on the lock icon.
  • If using Photoshop CS6 or older versions, press and hold the Option button for Mac or Alt button for Windows, then double-click.
  • This would initially rename the layer to Layer 0, although you can change it.
Unlocking a layer in Photoshop

4. Bring the Background Layer Forward

After unlocking the Background layer, bring it forward to make it easy to modify the border color. Head to Layer, hover over New, choose Layer From Background, then click OK on the dialog box.

Bring the background layer forward

5. Enlarge the Canvas and Add the Border

Enlarging the canvas is crucial when adding a border in Photoshop because you need to zoom out to make room for the frame.

  • To zoom out, press and hold the Ctrl key for Windows or Command button on Mac, then press the minus key.
  • Go to Image, then click on Canvas Size.
  • Tick the Relative checkbox in the dialog box.
  • In the Width and Height fields, type the number of pixels to put around the picture.
  • Photoshop will equally divide this value between both sides, so whatever size you need, make sure to double the amount. For example, 400 pixels would result in a border width of 200 pixels. Likewise, you need to enter 2 inches if you need a 1-inch border.
  • Set the Anchor to the center square, and then click OK. This will create a new canvas space equally surrounding the photo. You should see a checkerboard pattern in that space, which means the border is transparent.
  • You can also put a small border between the photo and the primary border. From the Layer panel, select Layer 0, add a Layer Style icon and then choose Stroke.
  • If you put the wrong border size, you can undo that by going to the Edit menu, then selecting Undo Canvas Size
  • Re-open the Canvas Size dialog box, then try again. 
  • Enter positive values to enlarge the border or negative numbers to create a thinner border.
Enlarging the canvas size

6. Choose a Border Color

Research shows that people make a subconscious judgment about a product or object within an initial viewing. About 62%-90% of that assessment comes from color alone. This is why even the simple task of choosing a border color plays a crucial role in the overall appearance of your real estate photo.

  • Click on Create a New Fill or Adjustment Layer in the Layers panel.
  • Click on Solid Color.
  • In the Color Picker, set the color as white in the dialog box.
  • If you prefer another color than white, double-click on the fill layer's color swatch to bring back the Color Picker. As you try different hues, you will see a live preview of that color in the border.
  • You can also choose a color from the image. Hover the cursor into the photo and then click on the color you want.
  • Click OK to fill the entire file with your selected color.
Picking a color for the border

7. Send the Border Color to the Back

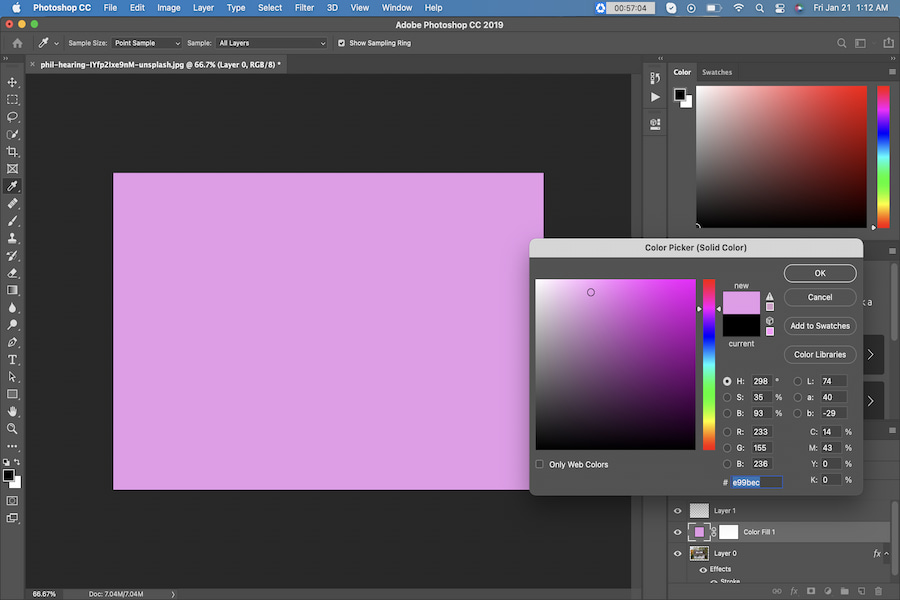
Applying a border color would block the image from view, so you need to bring the image layer forward. From the Layers panel, drag the new color fill layer below the image layer. This would make the color from the fill layer appear inside the border.

Selecting black in the color picker

8. Use the Brush or Pattern Tool to Create a Custom Border

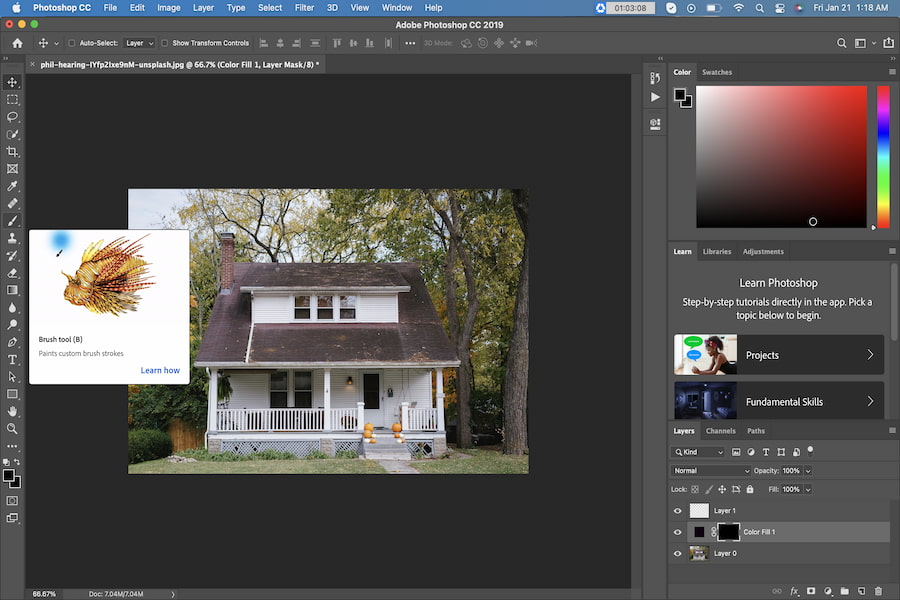
If you don't want a plain, solid-colored border, use the Brush tool to customize a border for your real estate photo.

Furthermore, color is a vital element for brand development. If an agent or realtor provides a style guide, consider their color palette so that the border color would suit their branding. 

Your clients may use the real estate images for print or online marketing, so even the color and border style should follow the brand's personality.

  • Create a layer mask to hide and reveal parts of the image without manipulating the file directly. To do this, go to the Layers panel, then click on the Adjustment Layer icon.
  • Choose Solid Color from the options.
  • Select a color for your border.
  • The mask will cover the entire image. To show the photo through the mask, double-click on the mask, then choose Invert. This will turn the mask color to black while the picture becomes visible.
  • To create a custom border, select the Brush icon to reveal the brush catalog.
  • Choose the brush type that can help create your desired border design or effect. For example, use a chalk-like brush to form a textured border.
  • Paint white onto the black mask to conceal the image's corners.
  • Go to the Solid layer if you want to modify the border color.
  • Experiment using the Color Picker until you're good with the color.
  • To manipulate the brush effect, you need to alter each side of the photo so the border won't look uniform. From the Layer panel, choose Layer Style, then go to Blending Options. Play around with every layer until you achieve a different effect.

Another option is to create a New Layer in the Layer panel. Choose Layer 1 to apply a pattern. From the Menu, change from the Bucket Tool to Pattern to see the available patterns.

Choosing the brush tool

9. Save the Edited Photo

After applying all of your desired border size, color, and effect, click on File > Save As to create a new version of the file. This ensures you still have an original copy of the non-bordered real estate photo.

Final outcome of making a border in Photoshop

Conclusion

Real estate photographers can use Photoshop to remove an object, make something look wet, or add a border for a more creative touch in photos. When placing a border, make sure to create a background layer, enlarge the canvas, create a border color, and apply the final effects.

Vendors

Rela Logo
CS6 PSE Logo
HD Photo Hub Logo
FullFrame Logo

Learning Topics

.
magnifiercrossmenucross-circle