


In today’s competitive real estate market, static photos are no longer enough. Buyers expect dynamic, engaging content that brings properties to life. Enter Reptov, a powerful new platform that transforms ordinary listing photos into professional marke ...


As an Amazon Associate we earn from qualifying purchases.
If you are into real estate
Frames are a great way to add class and elegance to your pictures, especially if you are going to present them to a client. Frames in Photoshop can be drawn or they can be created from the shapes that are already present in the software.
Quick Navigation
To make a frame in Photoshop, you first need to select the image that you want to add a frame to. You will also need to choose what type of frame you want to get. You can make a frame via two methods:

Below is the detailed guide on how you can make a frame in Photoshop and add them to your images.
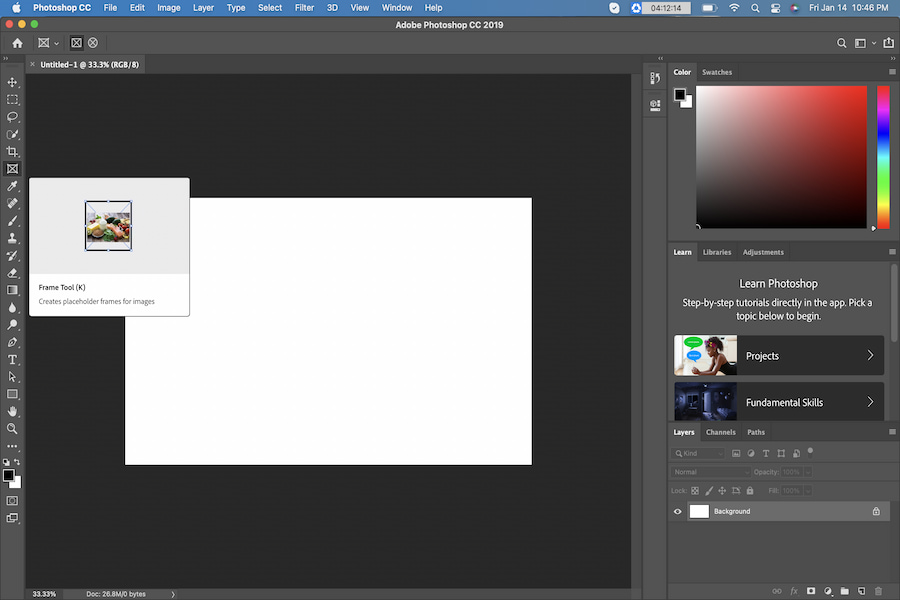
To use the Frame tool, open a new file in Photoshop and choose the image that you want to add a frame to. Choose the Frame tool in the toolbar.
The toolbar is located on the upper left corner of the screen. If the toolbar is missing, you can get back by going to the Windows menu. Once you've chosen the tool just press the K key on your keyboard.
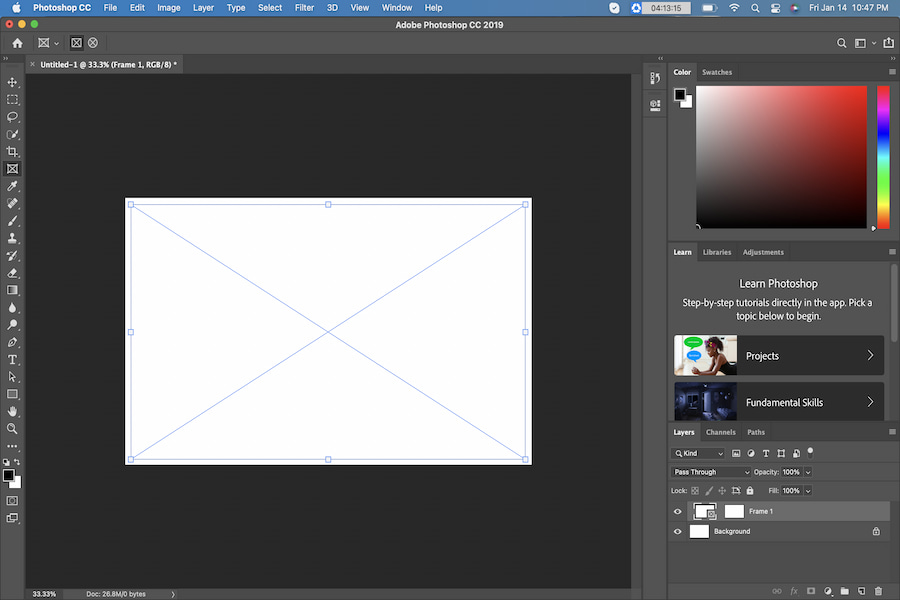
Once you've selected the Frame tool, you will see two types of frames:
By default, what will be selected is the rectangular frame. After selecting the frame, drag it across the canvas and set the size of the image that you want to insert.
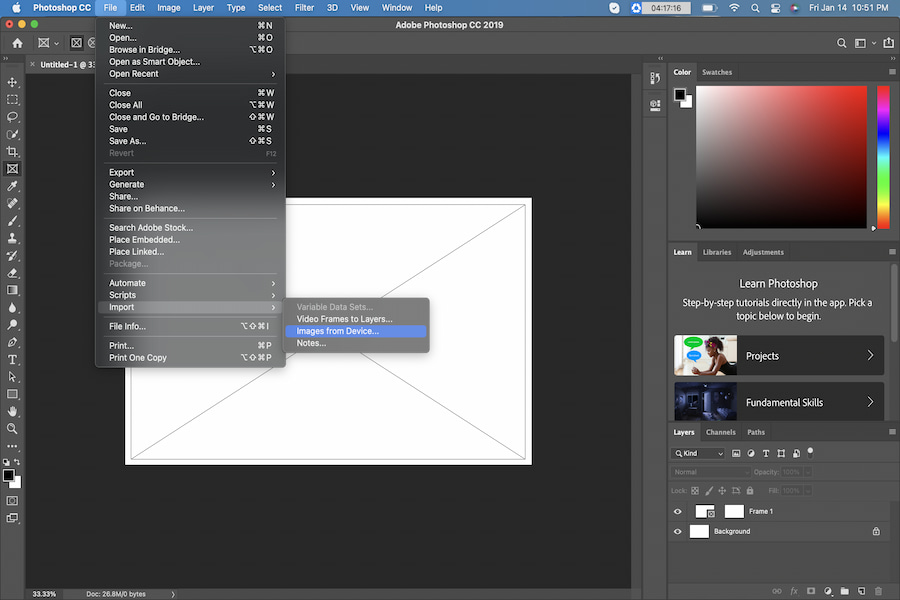
Under Properties, select Insert Image so you can choose the image that you want to put into the frame. You can also select an image straight from your computer, either as a linked file or an embedded one. You can search for a picture via the Adobe Stock database. You can also just drag and drop a picture from your computer into the frame.
In order to resize or reposition the picture in the frame, just click on the image that is on the canvas twice, or choose the thumbnail of the picture, not the frame, in the Layers Panel. Select the Move option and use the handles on the side so you can make adjustments to the size. You can actually resize multiple images at once to save time.
To apply the frame, choose the Stroke section on the Properties pane and select the thickness, the position and the color. Click off the image so you can see the final result.
If you wish to add an elegant touch to your image, you can add a white frame. They can be added if you want to print a picture and avoid overlap with the frame edge or the mat.
To add a white frame, choose Image, then go to Canvas Size. You will see a popup window and it will include the New Size parameters. Make sure that you adjust the Height and the Width of the units so you can create a frame that is equal on all sides and you won't have to calculate the size.

Next, figure out how massive you want the frame to be. You can create a frame that is 10% of the size of the picture, so just add 10% to the Width and the Height values. As for the Anchor point, make sure it is at the center of the frame. Then select white as the frame color.
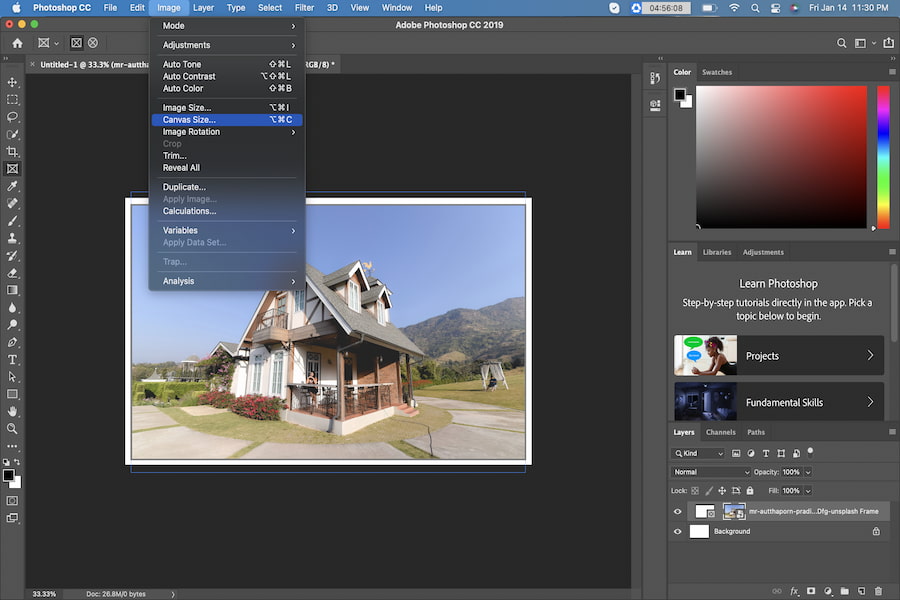
If you wish to create an elaborate frame with custom colors, then you can do an advanced one. Just go to Image and choose Canvas Size. Select the Width and the Height of the frame just like what you would do if you chose a white frame.
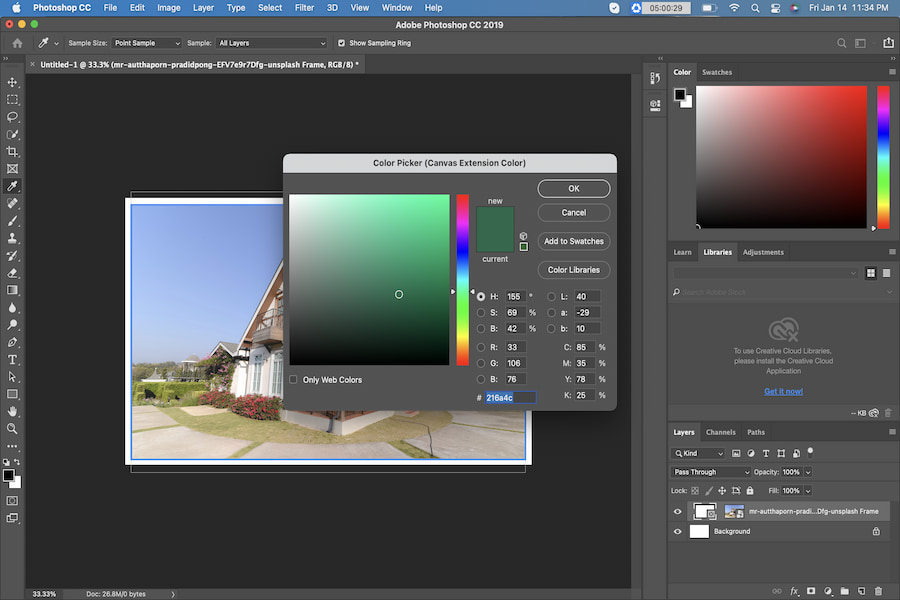
Make sure that the anchor is right in the center and select a Canvas Extension color if you want to, as long as it complements the image. As soon as you are done, select OK to save it. You will see a single frame around the picture.
Choose the Canvas Size option again. However, this time, make sure that you select a different size and a different extension for the color. For example, you can create a frame at 3% then add a second, smaller one that is the same color as the subject in the photo.
Aside from the Frame tool, you can also create a frame using the shapes in Photoshop. You can choose the ones that you want via the shape tools.
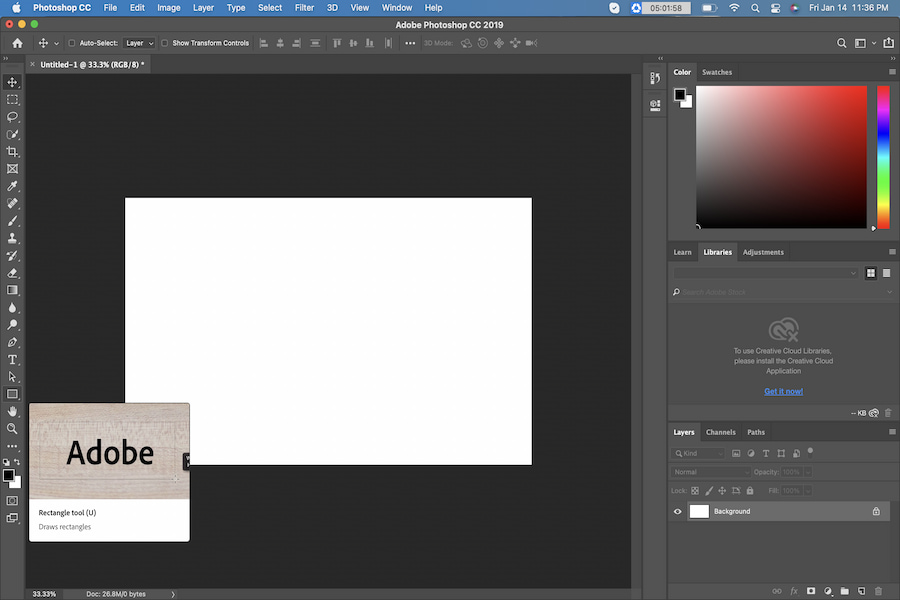
Open the file in Photoshop and choose the Shape tool that is seen in the toolbar. You can also press the U key on your keyboard.
Next, set the fill and make sure to stroke to none. Draw the shape using the Shape options in the area where you want the contents of the frames to show up.
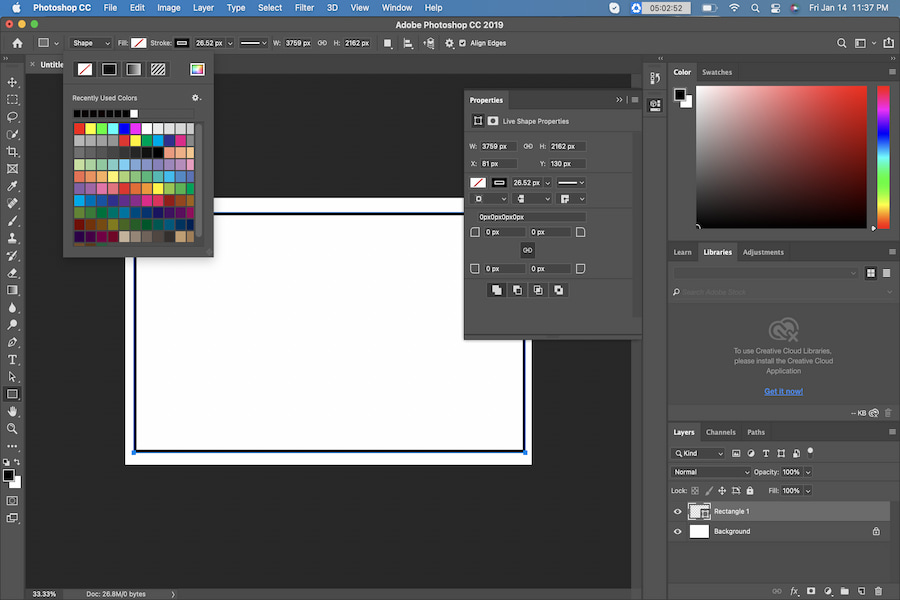
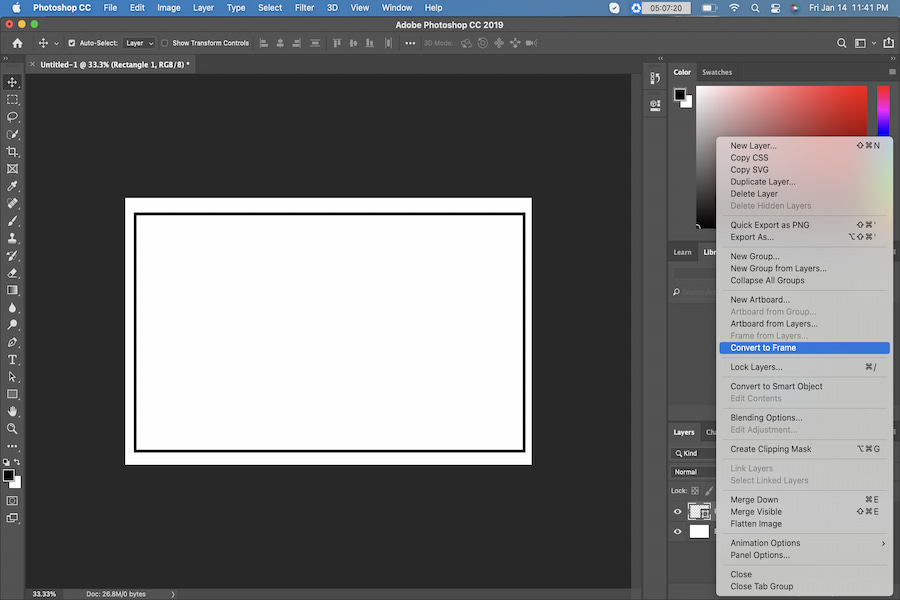
Resize the shape and position it by dragging on it until it is the size that you want. Choose the layer that has the shape in the Layer panel and select Convert to Frame from the Layer drop-down menu. Name the frame and choose OK to save the changes.
Next, drag and drop a picture onto the frame. You can also use the Insert Image option in the Properties section so you can locate the image. You can resize the picture if you want to. By default, the picture will be scaled so that it can fit the frame. The picture will be inserted as a Smart Object, and it can be scaled using the Free Transform tool.
Real estate photography requires an extensive editing process in order to come up with the best result that you can show to the public.
By making a frame in Photoshop, you can help enhance the overall look of the picture, adding effects and making it stand out from the rest of the images.


