


In today’s competitive real estate market, static photos are no longer enough. Buyers expect dynamic, engaging content that brings properties to life. Enter Reptov, a powerful new platform that transforms ordinary listing photos into professional marke ...


As an Amazon Associate we earn from qualifying purchases.
Cameras save your shooting settings when taking a real estate image, especially the ISO, shutter speed, aperture, and focal length. However, when editing, you may sometimes need to know the settings to serve as a reference. This guide shows the different ways how to see camera settings in Lightroom.
Quick Navigation
To see camera settings in Lightroom, you can use either the Metadata panel, Histogram panel, or the Loupe Overlay Shortcut. After selecting the target photo, expand the Metadata and Histogram panels. For the Loupe Overlay, you'll need to work on Loupe Info 1 and Loupe Info 2.
The settings contain the information you use to take pictures, especially the aperture, shutter speed, ISO, focal length, and format. These are essential details that can help you better determine how to post-process your real estate photos. These are the three different ways to look for the camera settings when editing in Lightroom.

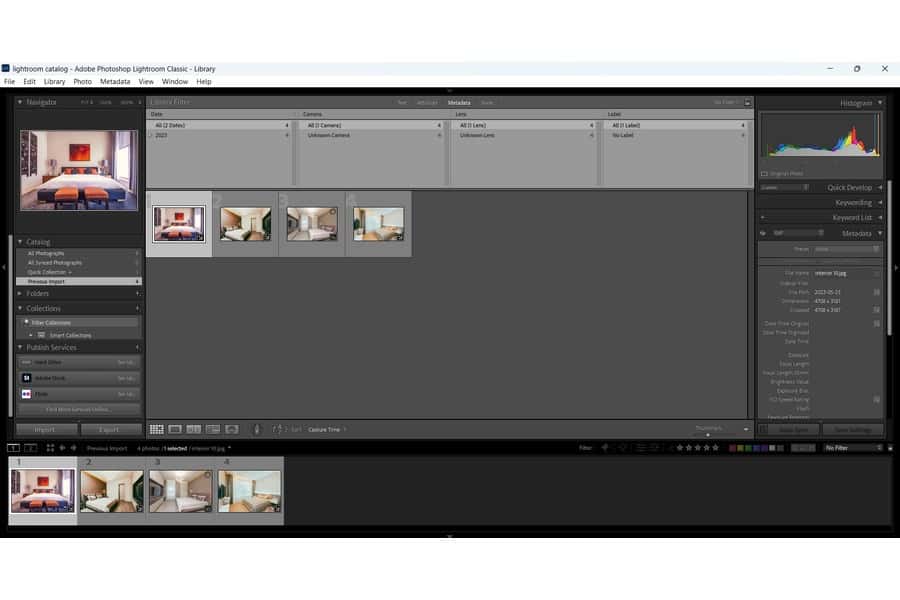
Exploring the Metadata panel is the easiest way to view a camera's settings when working in Lightroom. This panel on the right side shows the settings and other image information, including when, where, and what time you took the photo.

Follow these steps to check the settings:

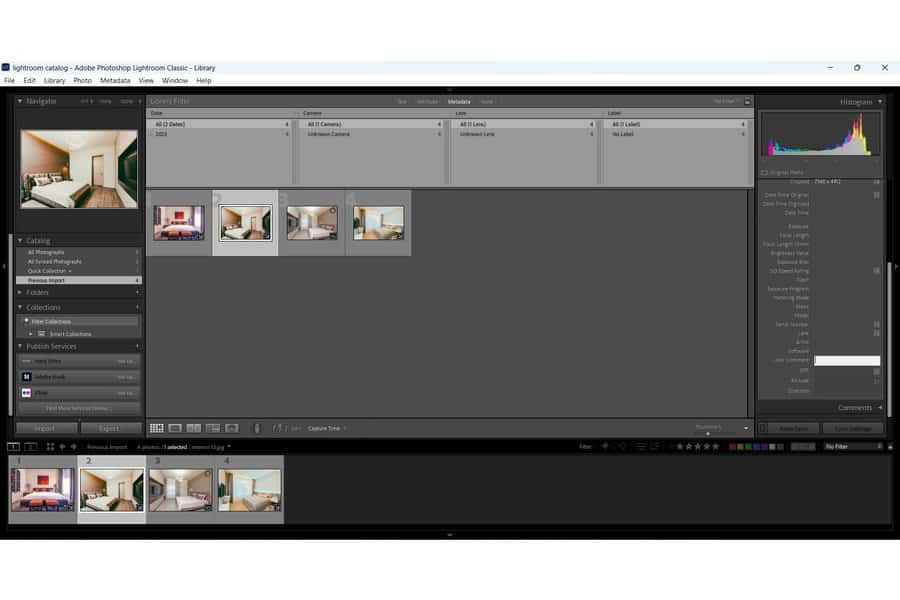
Metadata also allows an advanced search filter. This lets you search the photo library for information stored in image files.
Metadata defines and describes an image's data. You can use it to document and organize files within Lightroom. Basically, it answers the who, what, where, and when of your shooting process.
These are the settings you can find under the Metadata panel.
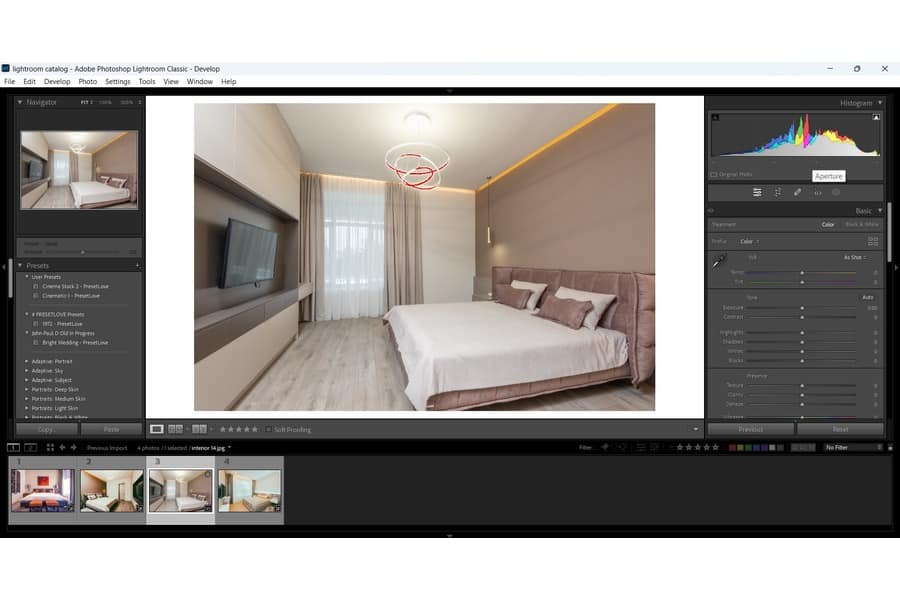
Another way to check the settings is to look at the Histogram within the Develop Module.
In Lightroom, the last way to see the camera settings is to use the Loupe Overlay shortcut. The Loupe View Options let you specify two different sets of information.


Viewing your shooting settings can help you analyze how to post-process your real estate images. In addition, you can discover any inconsistencies, patterns, or potential solutions in your gear choices.
A quick check in the Metadata panel shows what ISO, shutter speed, or aperture you've used to take the pictures. Additionally, you'll know how many images were shot using each setting.
For example, you may notice that you take long-exposure shots, mainly using 1/125 or above. This enables you to look for shooting patterns and helps determine what other settings to try.

Aperture ranges around f/8 to f/11 are good starting points for real estate
When post-processing in Lightroom, you'll see if you use the wrong aperture for a particular
Suppose your 18-55mm lens allows you to shoot at a maximum of f/4 or f/5.6. However, there may be instances where you feel limited in adjusting the exposure. You will notice this when checking your camera's settings in Lightroom.
From here, you can determine that you may need to invest in a faster prime lens that could let you shoot at f/2.8.
Perhaps you have an online group where you get to share your photos. Maybe you have a team where each member can provide helpful feedback about your shots.
You will only remember some exposure values you're using, so it helps that Lightroom can store relevant data. Such information also enables you to confirm who owns a particular picture.
In this way, you can show or upload your shots while providing the necessary information. Consequently, others can give constructive criticism or advice on your photography skills, particularly what you can improve or apply the next time you shoot.
Yes, you can check your shooting settings in the mobile version of Lightroom using the Professional Mode. When you launch the app, go to the lower left corner of the screen, then switch from Auto to Pro Mode. This will reveal a list of settings, including exposure values.
If you only see lines in the parts where you're supposed to see details, you're likely using a manual lens. So, for example, if you have a NiSi 15mm f/4 lens, you won't see information such as the aperture and focal length because it's a manual lens.
To set default settings when importing RAW pictures, you first need to go to Edit and click on Preferences. Next, click on the Presets tab from the Preferences dialog box. Then, from the Master drop-down menu, choose between Adobe Default, Camera Settings, or Preset.
You can go to the Metadata panel, Histogram panel, and Loupe Overlay to check the camera settings when post-processing in Lightroom. From here, you'll be able to assess the photos and determine the best way to edit your real estate images.


