As an Amazon Associate we earn from qualifying purchases.
There are several instances when I feel the need to extend the background in my images. Maybe the image has lesser composition than Instagram's standard image size, or you might want an elongated background to use the image as a banner. Today, I will explain how to extend the background in Photoshop CC using several methods.
How to Extend the Background in Photoshop Using Multiple Methods
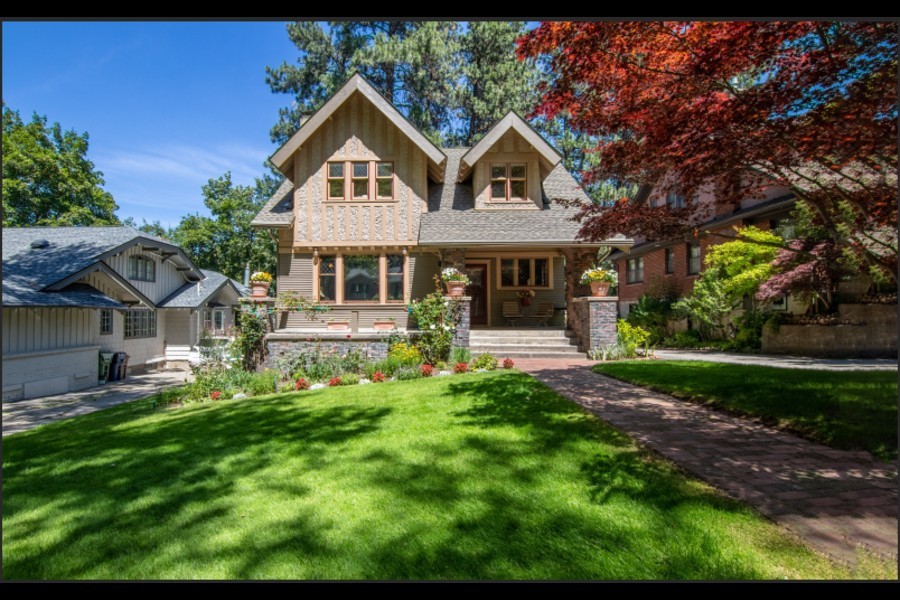
It frequently happens that whenever I come back from a shoot, I feel that certain images require a bit larger frame to make a perfect shot. An example of this in real estate photography is when the exterior views are shot during the daytime. The result of the shots you capture heavily depend upon the sunlight direction.
As a result, the photos may show the house on one side of the canvas as you struggled to get the lighting right. You may wonder how to place it in the middle of the frame so that it captures more attention. The answer is simple; you need to extend the background from one side to perfectly align the house in the center.
Let's explore some methods recommended by Photoshop experts that can help you extend the background in the images in a clean way. The biggest advantage of using these methods is that you can do them very quickly.
Extend the Background Using Content Aware Fill
One of the most intuitive features that make Adobe Photoshop the best photography software is the Content Aware feature. It saves a lot of time and effort in editing by replicating the fill after scanning the nearby adjoining areas in the image. You will see how using this feature enabled me to nail the background extension flawlessly.
Import the Image
- Launch Adobe Photoshop CC.
- Go up to the File menu, and click on Open.
- Import the image on which you intend to work from the source folder into Photoshop.
Increase Canvas Size
- Go up to the Image menu and select Canvas Size.
- In the Canvas Size dialog box, you have to determine whether you want to extend the image horizontally on one or both sides or vertically on one or both sides.
- If, for instance, you need to extend the canvas from the left hand side horizontally, increase the width, and choose the middle right anchor from the corner.
- Click on Ok. The transparent, extended area is now available in the desired place.
Select Extended Canvas Area
- Now grab a selection tool from the toolbar (Marquee, Magic wand, or the Quick selection tool work best here).
- Make a selection of the newly created canvas area.
Use Content Aware Fill
- Go to the Edit menu, and select Fill.
- From the Fill dialog, make sure you choose 'Content Aware' from the contents drop down.
- Click on OK. You might see a waiting icon until the background is being filled.
The Content Aware fill does its job pretty well. But as with any other automated tool, this one too can make some unnatural-looking artefacts. To rectify these, use the Clone Stamp tool or Spot Healing brush tool to get rid of them.
Extend the Background Using the Marquee Tool
Broadening a clear and simple background can be easily done with the Marquee Tool in Photoshop. The need to use cutting-edge features like Content Aware and Spot Healing rises as the background becomes more detailed. Otherwise, just stretching the sides a bit is good enough for background expansion.
Make a Selection Using Marquee Tool
- Open your image in Adobe Photoshop CC.
- Unlock the background layer by tapping on the padlock icon beside its name.
- The initial step to extend the background is to increase your canvas size so that you have some space created for the extended background.
- Depending upon the details available in the corners of your image, you can increase the canvas from left, right or both directions.
- Go to the Image menu and click on Canvas Size. Select the Anchor, and increase the width or height depending upon whether you will expand the image vertically or horizontally.
- Select the Rectangular Marquee Tool from the toolbar, or press M to activate it.
- Make a selection in the corner that you want to extend. Make sure the selection is from top to bottom, or you will have a distorted result.
Enable Free Transform Mode
- With the layer selected in the Layer panel, go to the Edit menu, and choose the option Free Transform.
- You will now see the marks around your selection. Using these transform marks, you will be able to drag out the selection.
Drag to Stretch Until the Background is Extended As Required
- When you drag the selection to fill the canvas, keep a close eye for the beginning of distortion. As soon as you see that the extended area is looking bizarrely stretched, stop dragging.
- You can now move on to the other side of the image if you choose to expand it from both sides.
Extend the Background Using Duplicate Layers and Spot Healing Brush
There is another method that you can try to extend your background from left and right or from top to bottom. Different images call for different Photoshop processing techniques, and you may find this method useful for some of your photos.
In images where the details in the corner can easily be used for a background extension, this method works best. For instance, an image with bushes, trees, or plain land on the sides is a good fit to apply this technique.
Duplicate the Image
- To ensure non-destructive editing, it is advised to make two duplicates of your image in Photoshop. With the image opened in a tab, go to Image > Duplicate.
- This command will open your duplicate in a new tab.
- Repeat the same step to add one more tab with a second duplicate.
Extend the Canvas
- On the first Duplicate image tab, begin the process by broadening the canvas.
- You can use the expansion method described in the above techniques. Or, you can use the Cropping tool from the toolbar.
- Click on Clear in the top bar to clear the cropping ratio, and go on to expand the edges of your image.
Split the Image in Half Using Guides and Marquee Tool
- Go to the View menu, and select New Guide.
- In the popup for New Guides, select the vertical orientation and enter 50% in the position box before clicking on OK. You will have a line in the middle of the image.
- Using this line as a guide, split your image into two equal parts using the Marquee Selection tool.
- Now grab the Move tool, and place one section to the right corner of the canvas. Select the other section and move it to the left corner.
Paste Duplicate Image in the Middle
- Now go to the second duplicate tab.
- With the move tool still selected, grab the image.
- Take it to the first duplicate tab. When Photoshop changes the tabs, drop the image onto the canvas.
- The new duplicate will be added as a new layer on your split image.
- Use the Transform mode (CTRL/CMD + T) to adjust the size of your new layer.
- Mostly, if the background is without any specific details, you will get the required after this step. The point of this method is to have an accurate matching extended background.
Blend Merging Area Using Spot Healing Brush Tool
- Select and apply the Spot Healing Brush tool to brush over the areas where blending is required. Go over the edges using a medium-sized brush with 50% hardness to perfectly tackle problem areas.
Conclusion
There are several Photoshop techniques to broaden the background. Besides the three that I have mentioned, you can also use the Brush tool to replicate the background or use the Clone Stamp tool. I advise you to ensure non-destructive editing for every method by working on the duplicates of the images instead of the original ones.