


In today’s competitive real estate market, static photos are no longer enough. Buyers expect dynamic, engaging content that brings properties to life. Enter Reptov, a powerful new platform that transforms ordinary listing photos into professional marke ...


As an Amazon Associate we earn from qualifying purchases.
While most real estate photographers use presets in post-processing images in Lightroom, some are still wary about using Profiles. Each has advantages and disadvantages that can help you decide which one to use. This guide explains the similarities and differences between Lightroom Profile vs preset.
Quick Navigation
Both Lightroom Profiles and presets are valuable features real estate photographers can use to have a distinct editing style. I'm going to give a quick overview of what they are and how they work.
Profiles are among Lightroom's newest powerful editing feature that allows sophisticated control when post-processing photos. You can use them to apply a set of adjustments, including RGB curves, contrast, and color grading.

They are a type of LUT or Lookup Table, which is like a spreadsheet that accounts for every possible color on a picture. This is why you can save Profiles or particular color grades as templates when editing in Lightroom.
Presets are XMP files that contain image metadata. With a single click, you can use a preset to modify a picture's exposure, sharpness, contrast, and color.
These consist of premade adjustments built into a file to ensure consistency when creating certain editing styles. In effect, you can achieve your desired style quicker and easier.
For this part, I'm going through the differences between Lightroom Profiles and presets.
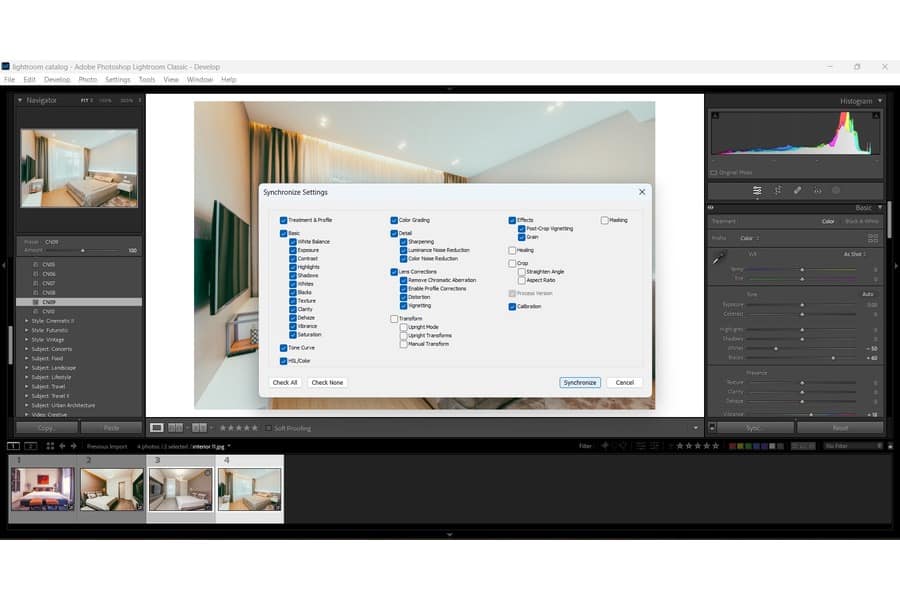
Presets and Profiles only have a few similarities. Basically, both of them act as image adjustment features, providing a set of adjustments that you can directly apply to an image.
They are also customizable, letting you tweak presets and Profiles to achieve a certain editing effect.
A preset and a Profile can let you make changes to an image. However, the main difference comes from how they function and the overall effect on your editing process.
Keep in mind that you need to make the Profiles by editing LUTs in Photoshop and then saving them from applying to real estate images in Lightroom.
On the other hand, you can either purchase or download a preset online. You can also save an original preset based on your existing edits.
A preset is an adjustment to the editing tools in Lightroom. Meanwhile, a Profile contains adjustments to features you can't alter in the editing software because they are beyond Lightroom's capabilities.

Another distinct difference lies in using and applying a Profile and preset.
In contrast, you can apply a preset with a simple click. For instance, this usually happens when you apply a preset to a group of photos.
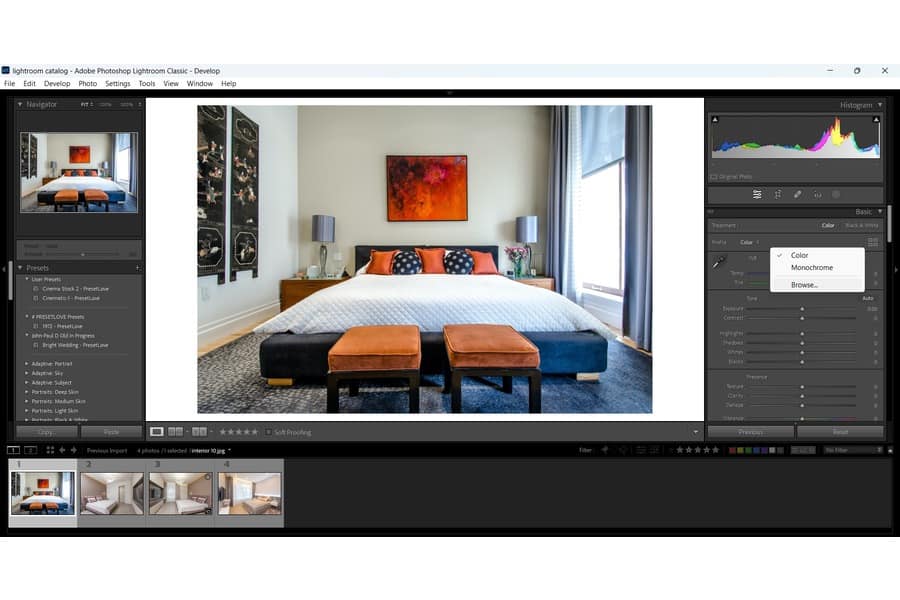
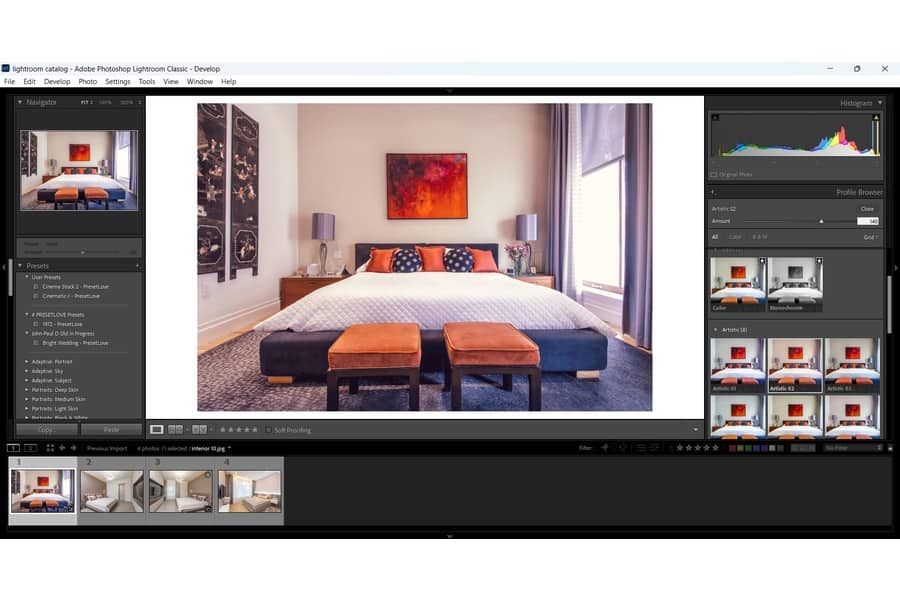
Lightroom Profiles can modify a real estate picture's overall look without changing the Develop Module, whereas presets require you to make changes using adjustment sliders inside the Develop Module.
You will need to use adjustment tools within Lightroom when working on presets. Meanwhile, Profiles act as LUTs that apply more advanced adjustments that a preset could not do so.
More than that, you'll need to create the Profiles first in Photoshop before using them in Lightroom. In contrast, you can easily download and install presets on Lightroom.
It would be much better to use a Lightroom Profile if you want control over the intensity of image colors.
Use Lightroom presets if you want to make specific adjustments in the Develop Module.

Profiles are better to use if you need more advanced adjustments, especially in color grading. However, presets are better options if you only require basic editing in the Develop Module.
Despite that, you can use both depending on the post-processing effect you need, especially if there's a particular style you want to achieve. In addition, since Profiles are created by editing the LUTs in Photoshop, you can add them directly to an image or place them on top of a preset.
Suppose you feel like something still needs to be added to the preset you're using. Then, you can work on a Color Profile; the adjustments won't change the preset's settings.
To create Profiles in Adobe Camera Raw, open a RAW file, adjust the photo's settings, Alt/Opt + click on the Create a New Preset icon. After naming and grouping the preset, choose the settings you've changed, and select Camera Profile. Next, choose Low (Normal) for the Tone Map Strength and deselect Lookup Table.
To convert a preset into a Profile, first, you need to import the XMP preset files into Photoshop's Camera RAW, click on the Preset Icon, and apply a preset. Next, press Alt/Opt and click the Create New Preset icon to make a new profile.
To install Lightroom presets, go to the menu bar, click on File, and choose Import Profiles & Presets. From the Import dialog, browse the required path and select the preset you need. Click on Import.
Presets and Profiles are beneficial tools in Lightroom to enhance real estate images. Spend some time trying out both of them to discover which would better suit your editing style. Eventually, you may end up using them at different times or situations.


