


In today’s competitive real estate market, static photos are no longer enough. Buyers expect dynamic, engaging content that brings properties to life. Enter Reptov, a powerful new platform that transforms ordinary listing photos into professional marke ...


As an Amazon Associate we earn from qualifying purchases.
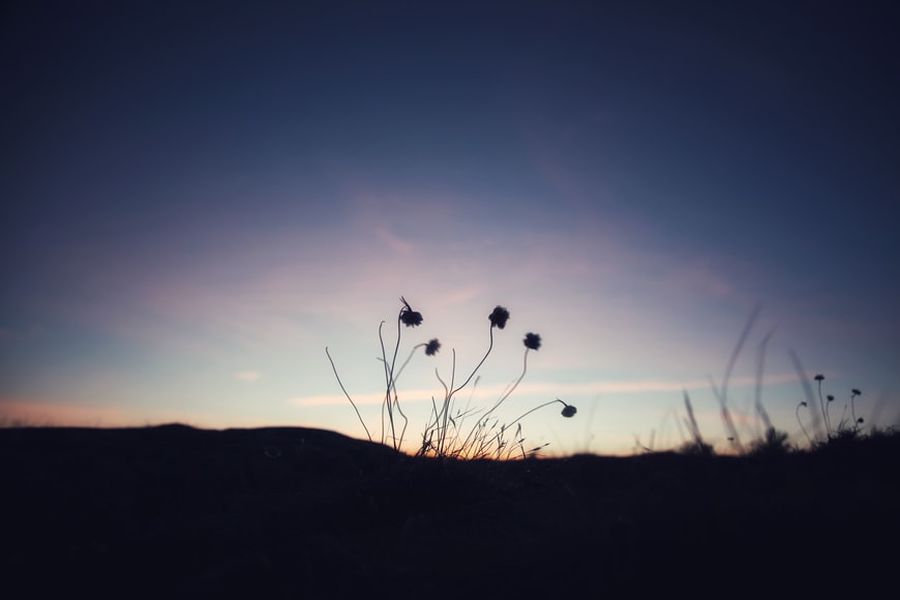
Vignetting is the darkening of an area in a photo, especially towards the edges of the frame. Real estate photographers do everything they can to make sure it does not appear on their images so that it won’t ruin the overall look of the property that they took pictures of. They even go as far as getting camera lenses with aspherical glass elements to filter it out.
However, recently, it has become quite a popular effect, even in real estate
Quick Navigation
To create a vignette effect using photoshop, you need to use the oval selection tool to choose the key area that you want to focus on. Increase the feathering of the area and flip it.


After which, you can add an adjustment curve layer to make the necessary changes so you can control how the vignette will appear. You can also make a vignette via the vignette slider that is located inside the Camera RAW Filter, under the Effects option.
In order to properly apply the vignette effects in your images, we have broken down the process step by step.
Begin by selecting an image that has a central object that you want to focus on. It can be a property, an object amid a landscape, or a building amid a street image.
In that particular image, you need to highlight the object in the foreground. It is important to estimate just how much of the area of the object that you want to focus on.
Now, you need to create the shape for the area. Choose the rectangle or sphere shape tool from the toolbar. Select the color that you desire to use for your vignette border. Next, drag the box around the area that you want the vignette to be applied to.
If it looks like you placed a colored box over the subject, it means that you are doing the right thing. It may not look like a vignette yet because there are some modifications that you need to make.
You want to have the opposite effect of the shape’s placement. The color needs to surround your object and it should not cover it. In order to do this, all that you have to do is to remove the shape's influence over the image.
However, the result will not seem like a vignette just yet. The border of the image is so bold and sharp that it looks like the image is popping out the border of color. To give the area a vignette effect, there are still some properties you need to adjust.
The final step is to adjust the feathering of the area. In the Properties section, choose the Mask option located at the topmost part of the tab. It is a white-colored box with a dark circle added right in the middle. When you open this, you will see an option for changing what the mask looks like.
Choose the Feathering feature and play it with the slider. When you push up the feathering, it will automatically produce a vignette effect. You can preview the adjustments immediately, you can put on several types of levels to see which one has a better result. You will also notice that the object has a lighter quality to it after being highlighted amid the colored and natural fall off. A rigid shape can turn into a more fluid vignette border.

These are just the essential components of applying a vignette. If you review the Properties tab more, you will see different sets of tools that you can use to make different types of effects. You just need to rework a shape depending on what you want.
Photoshop has a Camera RAW Filter feature that gives you a lot of photo editing tools that are easy to operate. With sliders, you can easily change everything from the contrast of the image to its temperature.
In order to apply the filter, you need to navigate your way through the upper toolbar to choose Filters, then go to Camera RAW Filter. As soon as you select this, you will be brought to a new menu with your image present and a host of photo editing tools. Among the many slide features that are present, there is an option for creating vignettes too.
While in the Camera RAW Filter window, you need to scroll up and down to find the Effects menu. In there, you will see the option for creating a vignette in the form of a slider. Drag the slider and you will see a soft, white border appear around the edges of the image. You can tailor this vignette to be as big or small as you wish using a simple drag that creates real-time results.
Note that the tool is limited, especially when it comes to the density and placement of the vignette. You may want to consider the filter-free version first for better control if you do not want something fast and dirty for a vignette. Once you are happy with the results, just click OK, and you will be taken out of the filter window with the changes applied to the layer. If you need to make some adjustments, just reopen the Camera RAW Filter in the same way you opened it.
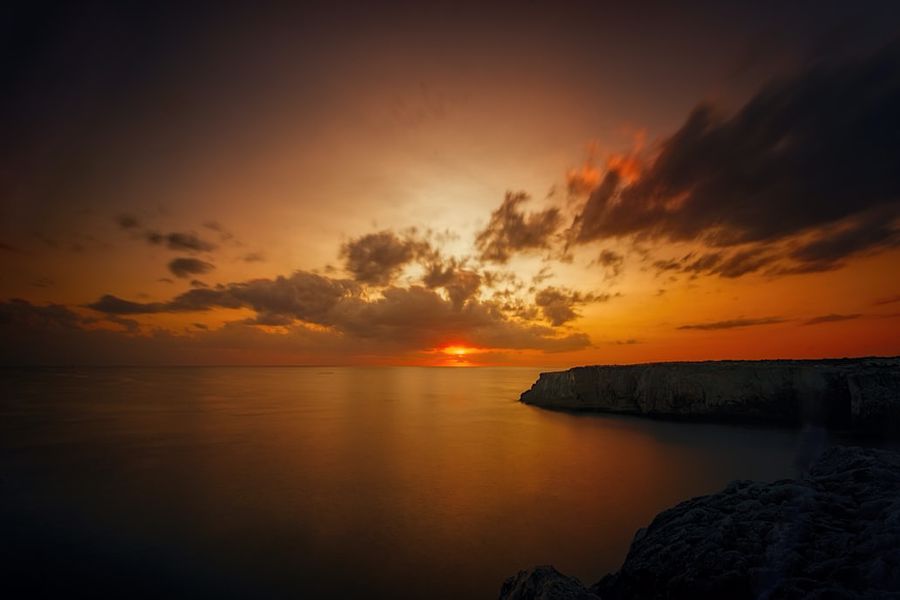
Vignettes can be useful as they can add character to a photo, even in real estate photography, and you don’t need an expert level of skill to add them to your
The technique can be used to improve your images of real estate properties and create a specific tone. Vignettes can be added as a simple touch on your photos to make them brighter or you can use a rustic color to give the effect of the old west.


