


In today’s competitive real estate market, static photos are no longer enough. Buyers expect dynamic, engaging content that brings properties to life. Enter Reptov, a powerful new platform that transforms ordinary listing photos into professional marke ...


As an Amazon Associate we earn from qualifying purchases.
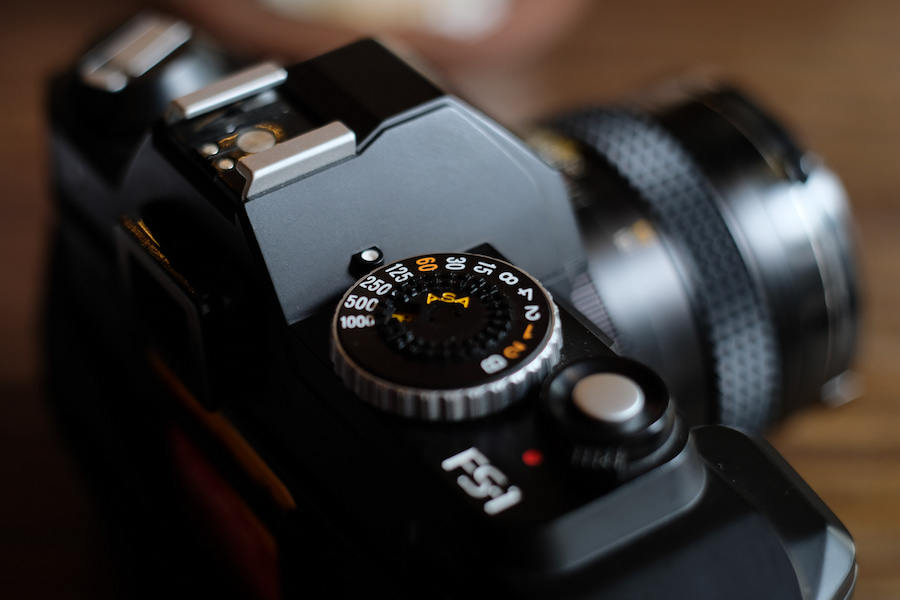
The camera ISO setting is one of the elements you might need most when capturing the real estate interior photos in low-light conditions. So, how does ISO work? Let me exploit how ISO works and how you can set it when shooting in different lighting conditions.
Quick Navigation
The camera ISO works by scaling up or scaling down the light signal by changing the sensitivity of the camera's sensor to light. The scaling makes the resulting photo brighter or darker. When you increase the ISO to brighten the image, the noise also increases, making the photo grainy.
Although you can increase the ISO to brighten the images when shooting in low light conditions, the noise level can significantly impact the photo quality, so avoid the highest ISO settings.


Like shutter speed and aperture, it's possible to change your camera ISO settings depending on the lighting conditions. However, the impact of the settings on image quality will mainly depend on the quality of the camera. The ISO settings in most cameras include:
Considering that the ISO speeds increase by a factor of 2, it means increasing the ISO setting to the next level will double the image brightness and the background noise. The noise might be visible in the image in the form of color and light speckles.
ISO affects the brightness of images by changing the camera sensor's sensitivity to light like the gain knob in an amplifier. The ISO setting is also known as gain in some camera models.
When shooting in low light conditions, the light signal reaching the camera sensor is minimal, and the resulting images are darker. This signal is amplified when you increase the ISO, and the photo brightens. Since a camera is a piece of electronic equipment, the electronics cause some interference with the signal.
However, this interference is minimal at low ISO, and you might not notice it. When you increase the ISO to brighten the image, the interference also scales up, leading to visible digital noise, making the photo grainy and low quality. A grainy photo might even seem out of focus and blurred.
Considering that the shutter speed and aperture control the amount of light that reaches the camera sensor, there is a close working relationship between the aperture, shutter speed, and ISO.
Understanding the relationship between ISO, shutter speed, and aperture can help you determine when to change the ISO, shutter speed, or aperture settings to capture high-quality, bright, and crisp real estate photos. Although the ISO, shutter speed, and aperture can affect the image brightness, they use different techniques.

The shutter speed is the camera shutter opening and closing speed. Keeping in mind that you will be using the ISO settings to brighten or darken an image by amplifying the signal, you can avoid the noise problem by using the shutter speed to brighten the photos.
When shooting in low-light conditions, you can consider reducing the shutter speed to allow more light into the camera instead of increasing ISO to amplify the signal. If you balance the settings right, this will result in a bright photo that is not grainy.
On the other hand, you might need to increase the shutter speed when shooting a moving subject to minimize the motion blur effect. Keeping in mind that increasing the shutter speed will limit the light entering the camera resulting in a darker photo, you can increase the ISO to compensate.
The aperture is the diaphragm opening that allows light to enter the camera body. Typically, a wider aperture will allow more light into the camera, resulting in brighter images. On the other hand, a narrow aperture will limit light, resulting in darker photos.
You can avoid the digital noise in your photos when shooting in low-light conditions by using a wider aperture instead of increasing the ISO. Usually, this will allow more light into the camera, and the camera sensor won't have to amplify the signal.
Since the image quality depends on the ISO settings, shutter speed, and aperture, use the following tips for bright images with minimal digital noise and motion blur.
The base ISO refers to the lowest ISO setting when there is no amplification of the light reaching the camera sensor. Since the camera ISO works like the sound knob of an amplifier, there is some signal distortion during amplification.
This distortion makes the resulting image grainy, an effect known as digital noise. Typically, this distortion and digital noise are highest at the highest ISO settings and lowest at the lowest ISO setting or base ISO.
Keeping in mind that low ISO means low digital noise and high image quality, here are some
Since ISO is all about amplifying the light reaching the camera sensor to brighten the photos, you can avoid the noise that comes with this amplification by physically allowing more light to enter. In most cases, this will mean using slower shutter speeds.
Consider using a tripod setup when shooting a stationary subject with slow shutter speed to avoid the camera shake effect associated with the slower shutter speeds. With the camera steady, sufficient light can enter and allow you to capture bright and sharp images using base ISO.
When shooting in good ambient lighting conditions, such as capturing real estate exterior photos in broad daylight, you can capture bright and sharp images even when shooting handheld using base ISO and high shutter speeds.
Typically, good lighting allows sufficient light to reach the camera sensor within the short time the shutter opens, allowing you to capture bright photos without image blur or digital noise.
That means it is possible to capture steady and high-quality images of with a low ISO as long as the lighting is good.
In most cases, you will want to use a shallow depth of field and blur the background for a beautiful bokeh quality when applying selective focus techniques in portrait
That means you need to use a wide aperture of around f/1.2 to f/2.8. Since an aperture is an opening that regulates the amount of light entering the camera, a wide aperture means more light reaching the camera sensor.
Using a high ISO with a wide aperture can lead to overexposure, and the resulting photo will be excessively bright. Digital noise also tends to be more noticeable in portraits. That means a low ISO is the best setting for portraits (except if you are intentionally shooting portraits at night without an additional light source).
Although it is advisable to stick to low ISO to avoid image noise, the following
If you're shooting real estate interior photos in low light conditions, a wide open aperture and slow shutter speed might not significantly increase your exposure. The best solution will be to amplify the available light and brighten the photos.
Motion blur can be an issue when capturing moving subjects with slower shutter speeds. On the other hand, faster shutter speeds limit the amount of light entering the camera, making your photos darker. Fortunately, you can capture bright and sharp photos using faster shutter speeds and high ISO settings.
Unlike a shallow depth of field, a deep depth of field keeps a larger amount of the frame in focus, ensuring captured photo is clear and sharp.
This technique can be beneficial in architectural, landscape, and real estate exterior

Usually, a narrow aperture means less light entering the camera, which translates to darker photos. You can get bright photos using a narrow aperture by amplifying the available light using high ISO settings.
Like other settings, adjusting the ISO varies across camera brands and models. However, almost all modern cameras come with manual and automatic ISO settings. Regardless of your camera brand or model, the following tips can help you adjust the ISO settings.
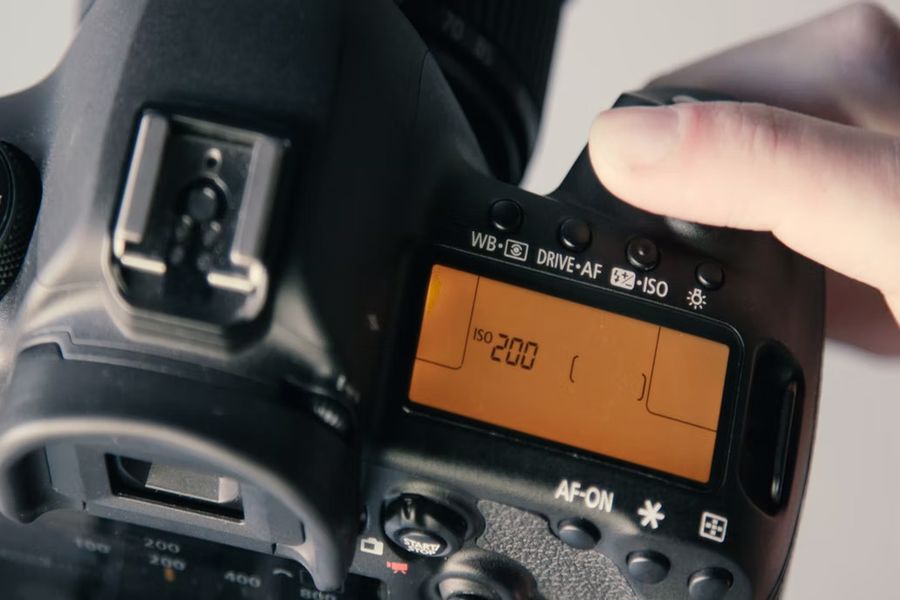
Most cameras come with the ISO settings in the menu, which you can access through the camera LCD. Keep in mind that some cameras might have a dedicated button for ISO on top.
Most cameras come with ISO set to Auto Mode by default. To have control over the ISO settings, you will need to change from Auto Mode to one of the following modes:
Although this option might only be available in high-end cameras, it allows you to have some control over the automatic ISO mode by specifying the maximum ISO the camera can use.
Although ISO can affect the image brightness like the exposure, it's not a part of exposure. Typically, exposure affects the photo brightness by physically regulating the amount of light reaching the camera sensor, while ISO controls the amplification of the light signal.
Yes, the size of the camera sensor affects the quality of the ISO as it's not consistent across camera sensor sizes and brands. For instance, you might get a cleaner photo when using ISO 800 on a full-frame sensor than you would get on a Micro 4/3rd.
Using high ISO settings to capture a bright photo is the same as using low ISO settings and then brightening the image later using a photo editing application such as Lightroom. However, when using high ISO settings, the noise levels might be lower than when increasing brightness using the software.
Yes, it is possible to reduce the digital noise from an image using a third-party photo editing software such as Lightroom. It is advisable to shoot the photo in RAW format for the best editing results. However, the image still can't match one shot using base ISO.
The best ISO setting to use when shooting in low light depends on how low the light is. For instance, you might need to use the highest ISO setting for astrophotography and ISO 800 to shoot real estate interior photos in low ambient lighting.
So, how does ISO work? ISO works by amplifying the light signal reaching the camera sensor, resulting in brighter images. However, the digital noise is also amplified in the process, and the resulting image becomes grainy. Balance the shutter speed, aperture, and ISO for a better shot.


