PFRE-Logo-white-bg
Reading
blue-triangle-element

Articles

PFRE is the original online resource for real estate and interior photographers. Since 2006, it has been a community hub where like-minded professionals from around the world gather to share information with a common goal of improving their work and advancing their business. With thousands of articles, covering hundreds of topics, PFRE offers the most robust collection of educational material in our field. The history of real estate photography has been documented within these pages.
All Articles
blue-triangle-element

Latest

Image banner for the March 2024 PFRE Photographer of the Month Winner Alex Vincent, with a featured image of his winning photo titled "Kitchen."

Congratulations Alex Vincent, March 2024 PFRE Photographer of the Month! The theme this month was "Kitchen". Alex Vincent - #906 Yvonne Raaijmakers - #909 Peter Wingfield - #902 Here's what Alex has to say: Thank you for the award of Photographer of th ...

Contest
blue-triangle-element

OVERVIEW

For over a decade, photographers from around the world have participated in PFRE’s monthly photography contests, culminating in the year-end crowning of PFRE’s Photographer of the Year. With a new theme each month and commentary offered by some of the finest real estate & interior photographers anywhere, these contests offer a fun, competitive environment with rich learning opportunities. 

Contest Rules
blue-triangle-element

CURRENT CONTESTS

View / Submit
blue-triangle-element

PAST CONTESTS

View Archive
Resources
blue-triangle-element

Resources

PFRE prides itself on the depth and breadth of the information and professional development resources it makes available to our community. Our goal is to help real estate and interior photographers be successful while bringing the community together and elevating the industry as a whole.
blue-triangle-element

Conference News

No items found

How to Batch Edit in Lightroom

Published: 11/04/2023

As an Amazon Associate we earn from qualifying purchases.

It's possible that you'll need to edit thousands of real estate photos in one go. Batch editing is one of the best Lightroom features that can help you post-process real estate photos easily. Discover the different ways how to batch edit in Lightroom to save time and effort.

How to Batch Edit in Lightroom

To batch edit in Lightroom, you can copy and paste the edits from one photo to another. You may apply the changes as you import the images. Other ways include applying presets in the Library Module, syncing custom edits, or batch editing with metadata.

Sometimes it may take you longer to post-process pictures than take them. As a real estate photographer, you must find ways to streamline your editing pictures so you can focus more on shoots and other matters. You can try these methods to batch edit images in Lightroom.

Importing images in Lightroom

Method 1: Copy and Paste Edits From One Image to Another

Underexposure, muted colors, and overblown highlights can ruin your real estate photos. You can work your way through each image to fix them, although this may take hours or days. Batch editing lets you do this in minutes.

One of the fastest ways to batch edit in Lightroom is to apply corrections in one photo and then paste them onto the rest of the pictures in the catalog. This is also the best method for shooting in RAW since the images are still flat, making it easier to apply the changes.

  1. Go to the Library Module's lower-left corner. Click the Import button.
  2. Head to the main menu, click on File, then choose Import Photos and Video.
  3. In the import window, specify how you want to add the photos to the catalog: Copy as DNG, Copy, Move, or Add.
  4. Apply a preset to the reference photo. Modify settings such as exposure, contrast, saturation, highlights, or shadows.
  5. After applying the changes, press Ctrl + C (Windows) or Command + C (Mac) to copy the edit settings.
  6. If you only have specific settings you want to copy, press Ctrl + Shift + C (Windows) or Command + Shift + C (Mac).
  7. From the dialog box, choose the types of edits you want to copy. Alternatively, use the Select menu to choose between All, Modified, Default, or None.
  8. Hold Ctrl (Windows) or Command (Mac) and click on the pictures you want to paste the edit settings. Press Ctrl + V (Windows) or Command + V (Mac) to paste the edits onto the selected images.
Clicking the Preferences tab in Lightroom to apply presets during import

Method 2: Apply Presets During Import

A real estate photo may include several elements, including furniture, negative space, and other small details. Even if you shoot various parts of a home, both interior and exterior, you need consistency to tie these pieces together.

You must develop a consistent post-processing style so clients can immediately understand your work. Likewise, this gives your brand as a photographer a distinct vibe that helps clients remember your style.

Another way to batch edit photos in Lightroom is to apply your chosen preset during import. In this way, the preset automatically applies to every image as you create a catalog, producing a consistent edit per photo.

  1. Go to Preferences, then click on Import.
  2. Head to the Apply During Import panel. Choose the preset you want to apply in the Develop settings dialogue.
  3. Change the Raw Default option from Adobe Default to your preferred preset.
  4. Wait for Lightroom to apply the preset, as it automatically imports pictures and creates a cohesive look.
Applying Presets in the Library Module using Lightroom

Method 3: Apply Presets in the Library Module

A survey shows 76% of working professionals spend one to three hours a day moving data from one place to another. Moreover, about 73% spend another one to three hours trying to find files on computers or in their offices. Imagine dedicating those hours to more productive tasks instead.

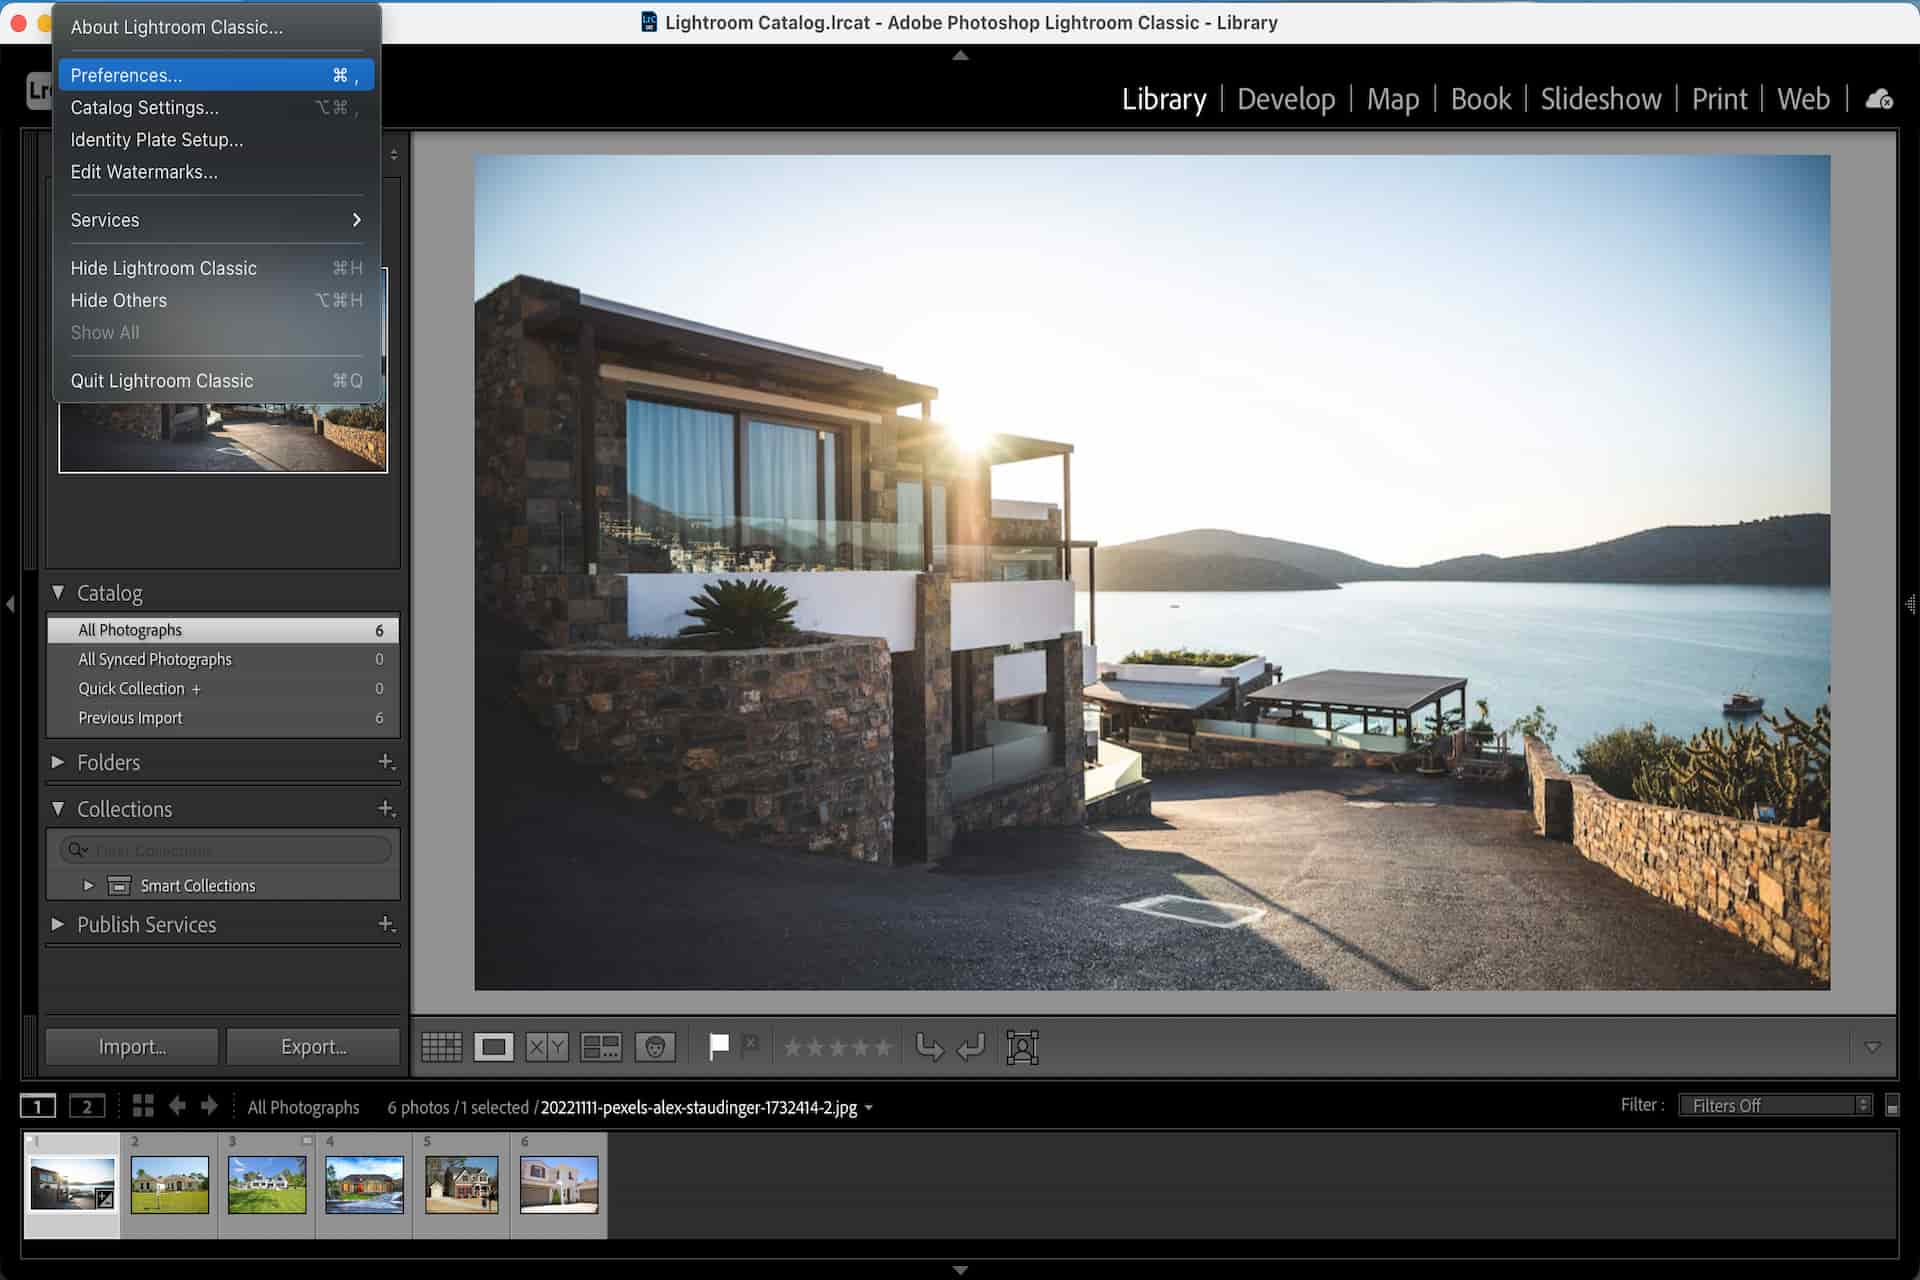
This is why it's vital that you organize your photos in Lightroom properly so you can edit them efficiently. Lightroom's Library Module lets you manage, organize, view, sort, compare, and rate real estate images in your catalog.

  1. Switch to Grid View mode in the Library Module.
  2. After importing the files, select the pictures or videos.
  3. Choose the preset you want to apply from the Quick Develop panel. Wait for Lightroom to apply the preset to every image you select.
Sync custom edits using Lightroom

Method 4: Sync Custom Edits

Lightroom also lets you sync custom edits from one image or video to a batch. This is ideal if you only need to fine-tune the settings of a single real estate photo, then use similar settings to the rest of the files.

  1. Go to the Develop Module.
  2. Modify the settings such as color, exposure, or white balance of a photo or video. You can skip masks, cropping, radial gradient, or spot removal since these edits may vary depending on the image.
  3. Pick the picture or video you've edited.
  4. Select the rest of the files you want to apply the edits to.
  5. Click the Sync button in the Develop Module. Alternatively, press Ctrl + Shift + S (Windows) or Command + Shift + S (Mac).
  6. From the Synchronize Settings window, pick which of the settings from the reference photo you want to synchronize to the rest of the catalog.
  7. Click Synchronize and wait for Lightroom to apply the edits.
Batch editing with Metadata in Lightroom

Method 5: Batch Editing With Metadata

Metadata refers to structured reference data that helps real estate photographers sort and identify information describing a file. It summarizes vital information to make files easier to find and use. For those in the photography industry, metadata is crucial in protecting licensing, copyrights, and royalties.

Batch editing also applies to saving metadata, including the date, time, and lens settings of every real estate photo. It can be tedious to do this one by one. Thus, it would be much faster to sync the metadata, similar to what you do with preset and custom edit settings.

  1. From the Import Module's Grid View, choose the photos you need to put metadata to.
  2. Go to the Apply During Import box and select New under the Metadata drop-down menu.
  3. From the metadata options, you will see mandatory fields marked in red.
  4. Add the necessary fields, including the Basic Info, Camera Info, and IPTC Copyright.
  5. Put a preset name and click on Create.
  6. Another option is to put metadata on one photo and copy it to the rest of the files.
  7. Click the Sync button.
  8. Choose the fields you want to copy from the metadata options.
  9. Click Synchronize and wait for Lightroom to apply the metadata to the selected pictures.

Related Questions

Why Should I Batch Edit Real Estate Photos in Lightroom?

You should batch edit real estate images in Lightroom to save time modifying settings and applying effects. This also guarantees you synchronize your edits across multiple photos or videos.

Can You Batch Crop in Lightroom?

Yes, you can batch crop real estate images in Lightroom. After cropping the reference photo, press Shift + CTRL/CMD + C to open the Copy Settings dialogue box. Tick the Crop option, select Copy, select the other images you want to crop, then press Shift + CTRL/CMD + V to paste the setting.

Can You Do Batch Editing in Lightroom Mobile?

You can also do batch editing in Lightroom Mobile. Press and hold on to the picture whose settings you want to copy, or click on Select from the top menu. After that, paste the settings on the rest of the images.

Conclusion

There are different ways to batch edit pictures in Lightroom, including copying and pasting settings, syncing changes, and applying custom edits. Knowing the various ways of batch editing in Lightroom enables you to post-process tons of real estate photos at once and create a consistent look throughout your portfolio.

Vendors

Rela Logo
CS6 PSE Logo
HD Photo Hub Logo
FullFrame Logo

Learning Topics

.
magnifiercrossmenucross-circle