As an Amazon Associate we earn from qualifying purchases.
In most cases, you will need to switch off the background lights when shooting real estate interior photos to prevent glare and ghosting. Knowing how to add light in Photoshop can help you lighten those light sources afterward and make the photo aesthetically pleasing.
Quick Navigation
Regardless of your

Typically, Photoshop is a versatile photo-editing application that allows you to add light to your photos using different methods. Although the best method will depend on your desired results, using the lighting effects filter is one of the most effective ways of adding light in Photoshop.
The first step is to open the photo you want to add the light to in Photoshop and then copy the background layer. Creating a copy of the background layer will make your edits non-destructive, and you can use your original image for reference.
In the layers panel, click and drag the background layer to the new layer button at the bottom of the panel. You can also use the keyboard shortcut keys Ctrl + J if using a Windows PC or command + J if you are using a Mac.
It is advisable to rename the new layer to keep track of your workflow. Select the layer from the layers menu and then choose layer properties. Once the dialogue box pops up, enter the layer's name in the name text box and click OK.

If you want to later change the edits such as the positioning, the softness, and the hardness of the lights, it's advisable to change the layer into a smart object. Navigate to Filters on the menu bar, choose the Convert for Smart Filters option and click OK.

Photoshop features a lighting effects filter that allows you to add light to an image more straightforwardly. Open the lighting effects dialogue box by navigating to filter on the top menu bar, selecting render, and choosing lighting effects.
Depending on the lighting effects you desire, you can choose any of the following effects in the dialogue box:
Keeping in mind that the photo might have some ambient lighting, using a spotlight is advisable as the lighting effects can be more aesthetically pleasing.

You can change the positioning of the spotlight in your photo by clicking and dragging it. Play around with the different adjustment points to change its shape, and make it smaller or bigger. If you want a significantly bigger spotlight, you can zoom out the image and then adjust the size of the lighting.
Typically, making the spotlight bigger will also make it softer. Use the ctrl + or - to zoom in and out if you're using a Windows PC or command + or - to zoom in and out if using a Mac.

You can also adjust the color and the intensity of the light the spotlight illuminates to match and blend with the subject.
Since you already converted the lighting effects into a smart object, you only need to double-click it to go back to the settings if necessary.

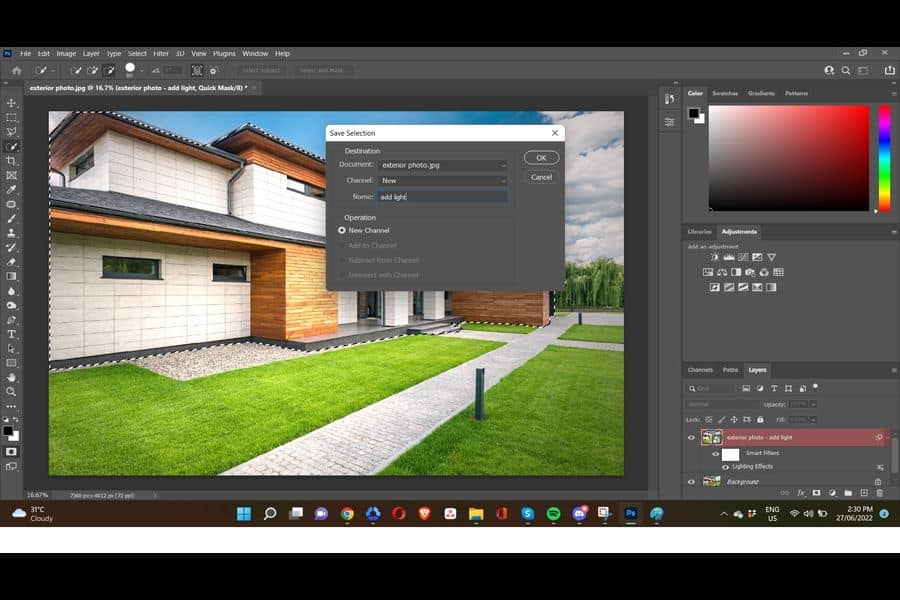
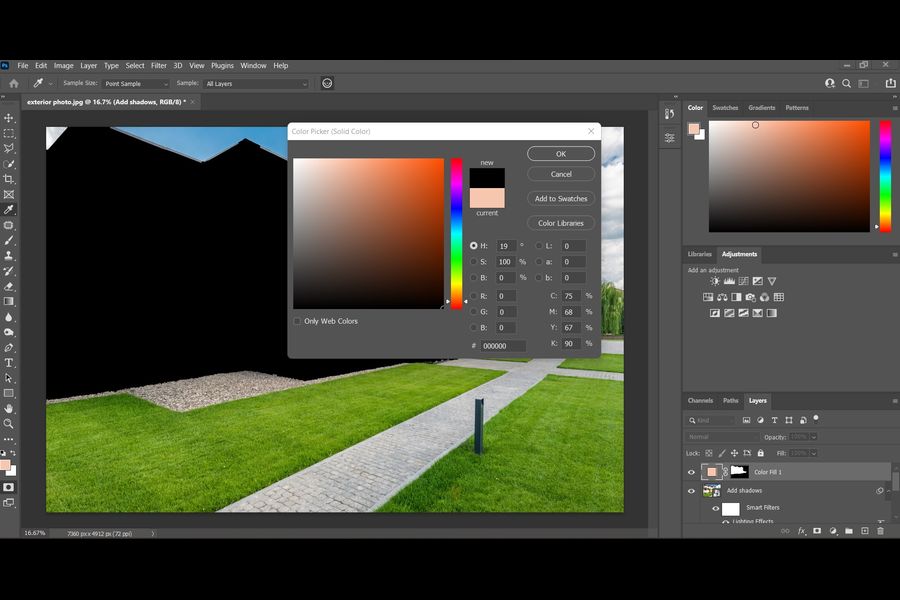
Adding a spotlight without adding shadows will make the lighting effect unrealistic. However, you will need to select the subject first for you to add the shadows.

The best way to create shadows and avoid funky edges is to create them above the subject. With the selection still active, click on the visibility icon of the lighting effects layer.


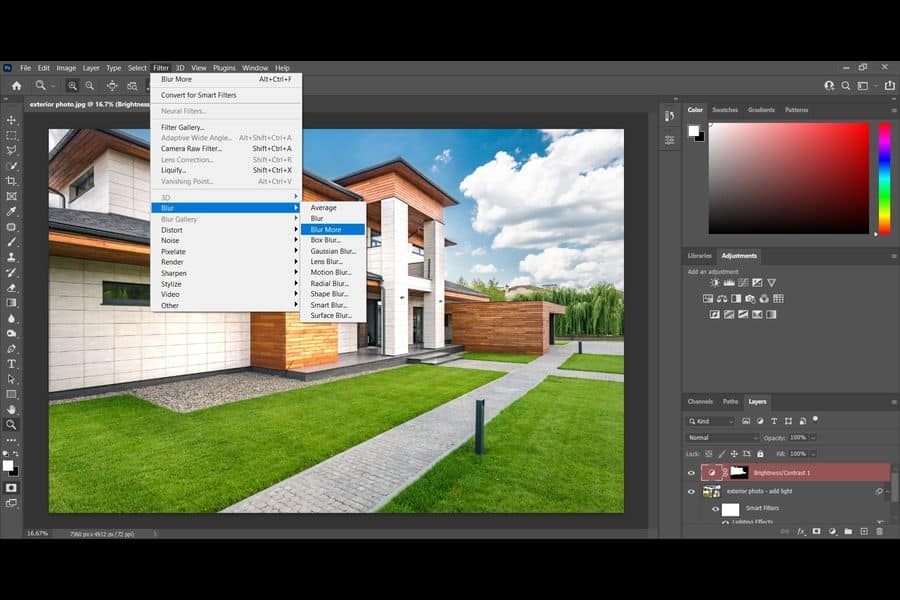
Considering that the light will blur as it gets farther away from the spotlight, the shadows also need to blur as they get nearer to the spotlight to look realistic. Navigate to Filter, Blur Gallery, and then choose Field Blur.
Click on the link icon between the layer and the mask to unlink the mask. Add blur to the photo until the lighting and the shadows look realistic. Once satisfied with the shadow blurring, click OK to confirm.

Depending on the subject and the direction of light, you might need to include some inner shadows to make the lighting look realistic. Create a curves adjustment layer, click and drag it down. Select the mask and then press command or ctrl I to invert.
Pick the brush, make it smaller and softer, select a low flow of around 4%, zoom in on the photo and then paint the inner shadows. At this point, you will have your photo with the light source, the outer and inner shadows looking realistic.


Knowing how to add light in Photoshop can help you emphasize the main subject in your real estate photo by adding a spotlight effect above it and applying shadows to hide the other elements. Work on the outer and inner shadows to make the effect realistic.
