


In today’s competitive real estate market, static photos are no longer enough. Buyers expect dynamic, engaging content that brings properties to life. Enter Reptov, a powerful new platform that transforms ordinary listing photos into professional marke ...


As an Amazon Associate we earn from qualifying purchases.
Background colors can set the mood of an image and direct attention to the subject. I'm teaching different ways how to change background color in Lightroom so you can have various backgrounds for your real estate images.
To change the background color in Lightroom, you can use the Adjustment Brush tool and HSL Panel to switch between different colors. These tools let you paint over the existing background and use the Swatches panel to choose new colors. You'll also need to adjust the Luminosity sliders for a seamless effect.
Lightroom offers multiple methods of changing background colors. With only a few straightforward steps, you can transform an image background and change its color to any shade. These tools not only help you enhance the look of your image but also help you create unique effects.

This is the best method for changing the color of image backgrounds or any other objects in your image. It helps you change the color of only the desired areas with precision and accuracy. Moreover, when you use this tool for color changing, all your other areas remain unaffected.
Follow these steps to use the Adjustment Brush tool in Lightroom.
The first step is to import your desired images into Lightroom. If your image does not already exist in your Lightroom catalog, you must import that one photo.
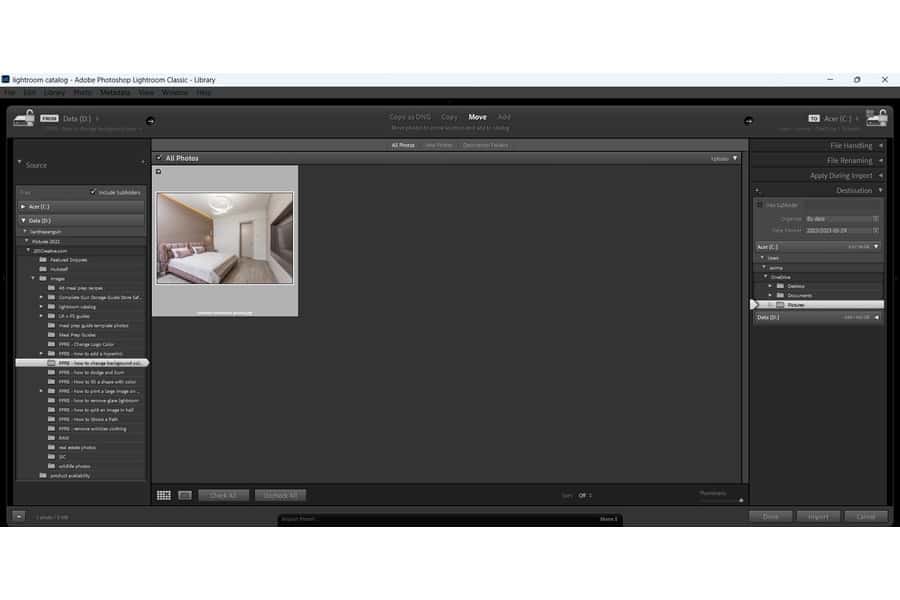
Whenever you open an image in Lightroom, it automatically opens up in the Library Module. You need to switch to the Develop Module to find the editing tools.
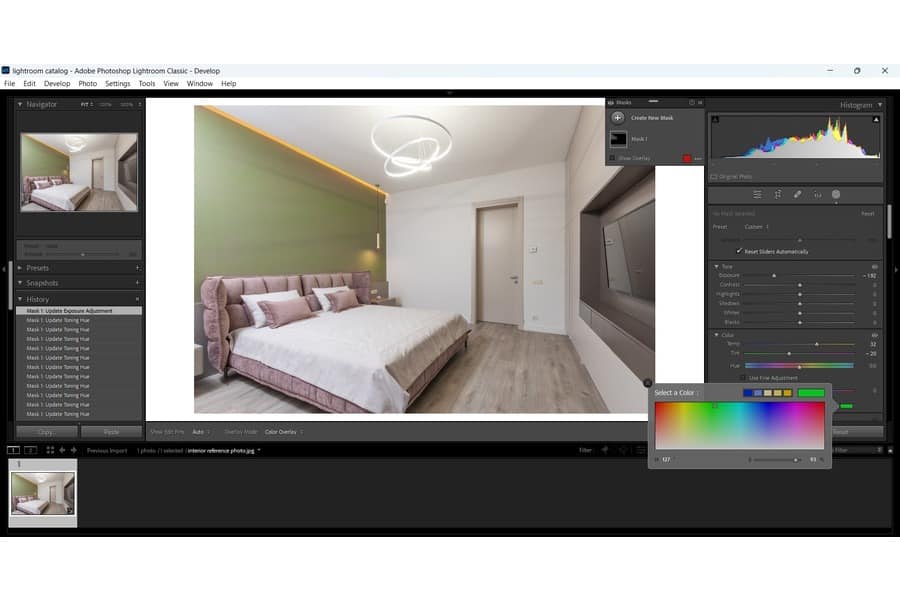
1. Select the Adjustment Brush tool from the editing panel toolbar.
2. Hold the ALT key to ensure no editing sliders will move from their default positions. This will reset your previous adjustments to the image. You can also click the Reset button at the bottom of your image editing panel.

You can also alter the size and effects of the Adjustment Brush tool by changing all that in the editing panel. Tick the Auto Mask checkbox after selecting the brush slide per your requirements.

At this instant, your image's background has no color. Instead, it has lost all its existing color and is now a plain gray color. You can now put a different color on the background.
Go to the Color section on the editing panel. Click on the Swatches panel present over there, and select any color as per your requirements and choice. We are choosing blue, as shown in the image below.
After adding the color, you can alter the effect of the color using the sliders. Adjust the Luminosity sliders for Exposure, Contrast, Highlights, Shadows, Whites, and Blacks until you achieve the desired output for the background.

Another method of changing Lightroom's background colors is using the HSL panel. This method is particularly useful for images with a single object placed against a solid background.

You can edit just the background in Lightroom using the Masking tool. Once in the Develop Module, go to Masking, and click on Background from the tool strip. Lightroom will analyze the image to select the background for you, letting you view the selection as an overlay and a mask.
Use a layer mask to change a background color without changing or altering the foreground color. This non-destructive editing enables you to change the color of some parts of a picture or make them look transparent without removing image information.
When editing background colors, you can clean up and fine-tune using the Select and Mask workspaces. The tools and sliders will let you tweak the settings. This should smooth out the edges, remove fringes, clean up unwanted colors, and make the overall edit clearer and sharper.
There may be instances where you need to change the background of a real estate photo or headshot portrait. You can do this using the Adjustment Brush and HSL Panel. Mastering this technique can let you experiment with colors and achieve different effects for your edits.


