


In today’s competitive real estate market, static photos are no longer enough. Buyers expect dynamic, engaging content that brings properties to life. Enter Reptov, a powerful new platform that transforms ordinary listing photos into professional marke ...


As an Amazon Associate we earn from qualifying purchases.
A good composition and light distribution throughout an image helps guide your eye to the main subject. Knowing how to vignette in Lightroom helps you improve the overall appearance of an image by darkening specific regions of a photo and emphasizing the main subject.
Quick Navigation
Lightroom is a sophisticated photo editing software, making it an ideal choice for adding a vignette to your photo. Typically, vignetting is a technique that involves reducing the brightness around the corners of an image.
It helps to remove distractions by focusing a photo in the middle of the frame. It creates an effect of an added light in the middle of the frame, making the subject seem more illuminated by some backlight or lit up from the center.

On the other hand, the darker corners help capture the viewer's attention to the most crucial parts of your image by preventing the viewer's eyes from focusing on the edges. If you are unable to get the vignetting effect when shooting, use the following ways to add a vignette in Lightroom.
The post-crop vignetting tool is one of the easiest methods of adding a vignette to an image. With the following tips, you can use this tool to apply the vignetting effect from the edges of the photo toward the center.
Connect your camera to the computer or insert a memory card into your card reader. Navigate to Lightroom, click on Preferences if you are using Mac or Edit, and then choose Preferences if you use a PC. Under the General panel, choose your Import Option.
Specify to Lightroom where you are importing the photo from, which can be your hard drive, memory card, or camera. Next, you need to specify how you want to add the image to your catalog. It can be, Copy, Move, Copy as DNG or Add.
Lightroom will put a checkmark on the photos that are not imported. Choose the image you want to import and specify its destination. However, if you choose the Add option when adding the images to your catalog, you don't need to specify the destination. Click on the Import button once you are through.
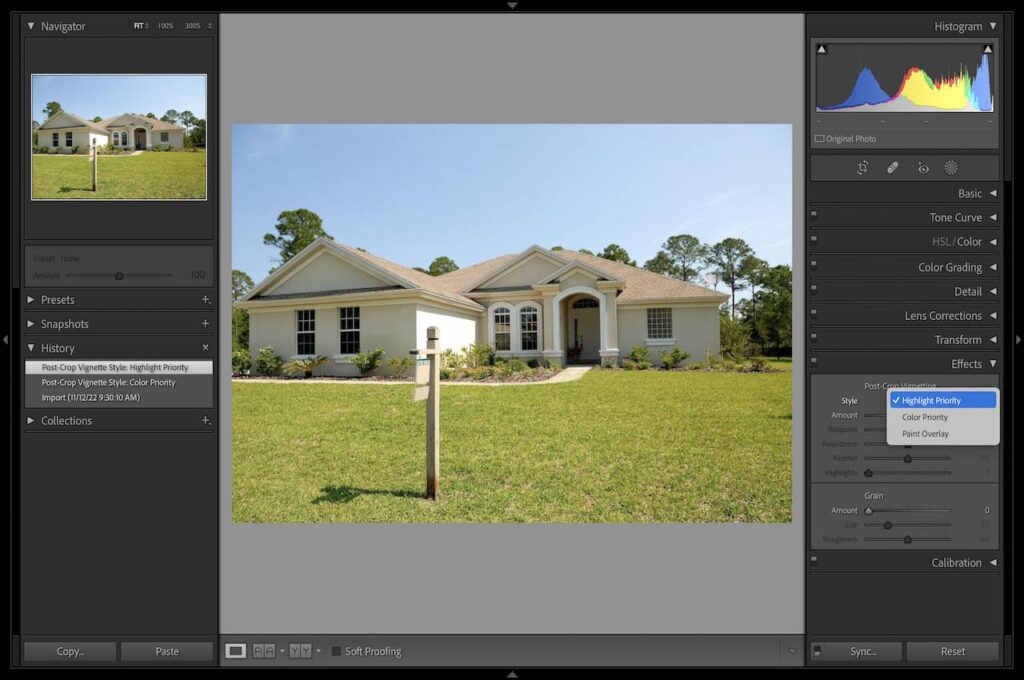
Navigate to the Develop Module, locate and click to expand the Effects panel on your right-hand side. Under the style menu, there are three types of vignette options you can choose from.
You can choose Highlight Priority, Color Priority, or the Paint Overlay. All three options alter how the vignette you apply matches the image you edit.
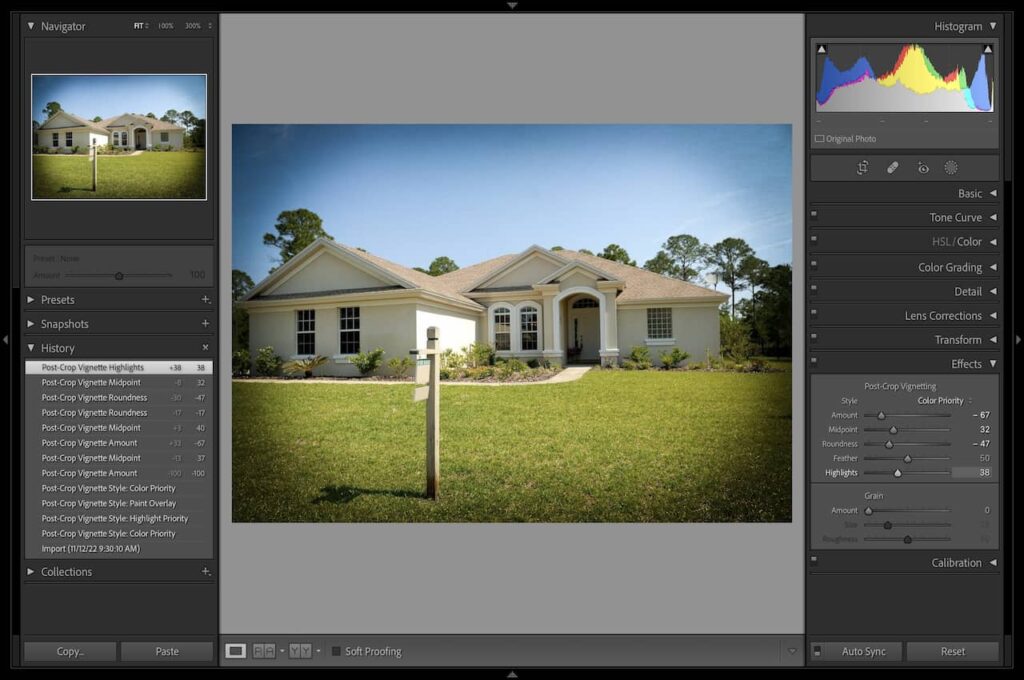
Adjust the Midpoint slider to specify the center of the vignetting. If you slide it to the left, the vignette amount will largely apply to the area away from the corners.
If you slide it to the right, you restrict the region at which the vignette is applied, which will get applied on the corners of the image only. The standard midpoint amount is 50.
Although this amount works best with most photos, it might not produce the best vignetting results for real estate exterior photos as it may darken some parts of the property. You should therefore adjust it depending on the size of the main subject.

Feather refers to the smoothness of the transition between the non-vignetted regions and vignetted ones. If you pull the slider towards the left, the vignette becomes harder, and the image might not look realistic.
However, if you pull it to the right, the vignette becomes softer, giving you the smoothest transition. Typically, moving your slider to the right makes the vignette blend well and more smoothly with the natural light of the scene.
Roundness allows you to define the shape of the vignette. Pulling the slider to the left makes the vignette more of a rectangle while sliding it to the right makes it more of a circle. Leaving the slider at the center gives the vignette an oval shape.
In most cases, you will want to use a round shape for real estate interior photos where you want to emphasize a feature and a rectangular shape for exterior property photos such as blocks of buildings.
Amount refers to how much vignette is applied. If you pull this slider to the left, the vignette appears darker, while moving it to the right makes it lighter.
Unlike the Paint Overlay option that disables the highlight slider, the highlight and color priority allows you to use the highlight slider to recover the brighter regions that are darkened by the vignette.
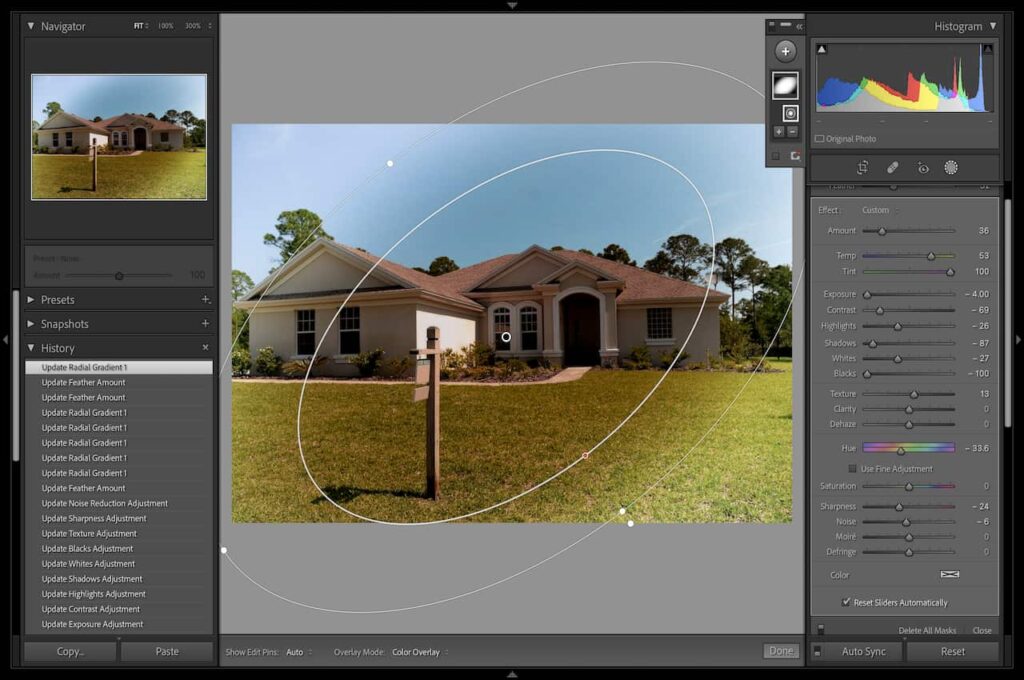
The Radial Filter is more advanced than the Post-crop Vignette tool as it allows you to adjust the position at which you apply the vignette. It allows you to highlight a certain region to remain unchanged and apply the vignette to the remaining parts of the image using the following tips.
You can get rid of vignetting in Lightroom by going to the Develop module and choosing the Enable Profile Corrections box under the Lens Correction tab on the right side of the panel. The box removes all the vignetting depending on the lens or camera used.
Click on the Adjustment Brush on the top right of the editing panel. Use the right bracket ] key to increase the brush size and the left [ key to decrease. Use the basic panel to apply the burn (darken) or dodge (lighten) on your photo. Reduce the exposure and paint over the edges to create a vignette.
Knowing how to vignette in Lightroom will help you emphasize the main subject in your real estate photos while making the photo look natural and realistic, like a lens effect. You can vignette in Lightroom using the radial filter, adjustment brush, or the post-crop vignette tool.


