


In today’s competitive real estate market, static photos are no longer enough. Buyers expect dynamic, engaging content that brings properties to life. Enter Reptov, a powerful new platform that transforms ordinary listing photos into professional marke ...


As an Amazon Associate we earn from qualifying purchases.
When capturing real estate photos, your camera or lenses may not capture sharp images as you expect. Fortunately, learning how to sharpen images in Photoshop CC during the post-processing phase will help you improve the appearance of your images and make them as crisp as possible.
Quick Navigation
Sharpening photos is one of the basic things every real estate photographer should know when editing interior and exterior photos. Although you cannot change the focus of an image once it is captured, it is possible to enhance the sharpness in Photoshop.
Image sharpening works by increasing contrast on the photo's edges, making the edge's dark side darker and the light sides lighter. The more you increase sharpness along the edges, the sharper the image becomes. However, Photoshop does not enhance the sharpness of excessively blurry or out-of-focus photos.

Photoshop provides several techniques you can use to enhance the sharpness of an image. Keeping in mind that Photoshop CC is the latest Photoshop version with advanced features and filters, it allows you to increase the contrast along the edges of your image using the following ways.
The Unsharp Mask sharpening filter creates a mask for the initial image using a blurry negative.
Usually, the mask is derived from the initial image to detect the edges, after which it selectively increases the contrast along those edges. Regardless of the blurriness of the image you are working on, you can use the following steps to sharpen it.
Navigate to File in the top menu bar and choose Open. The mac finder will open if you are using a mac or the file explorer if using a Windows PC, and then browse to locate your image.
Once your image is open in Photoshop, the image will open as the background layer, and the layer will be locked by default. Considering that the original image should remain untouched so it can be your backup in case of a mistake, you should ensure you work on a separate layer.

Typically, using multiple layers enables you to use masks and leave some regions without any sharpening or even apply varying amounts of sharpening to different regions.
Right-click on your background layer, and choose Duplicate Layer from the menu that pops up. Usually, the new layer’s properties panel opens when you create the new layer, and it's advisable to rename the duplicate layer so you can keep track of your workflow. Click OK to confirm the creation of a duplicate layer.


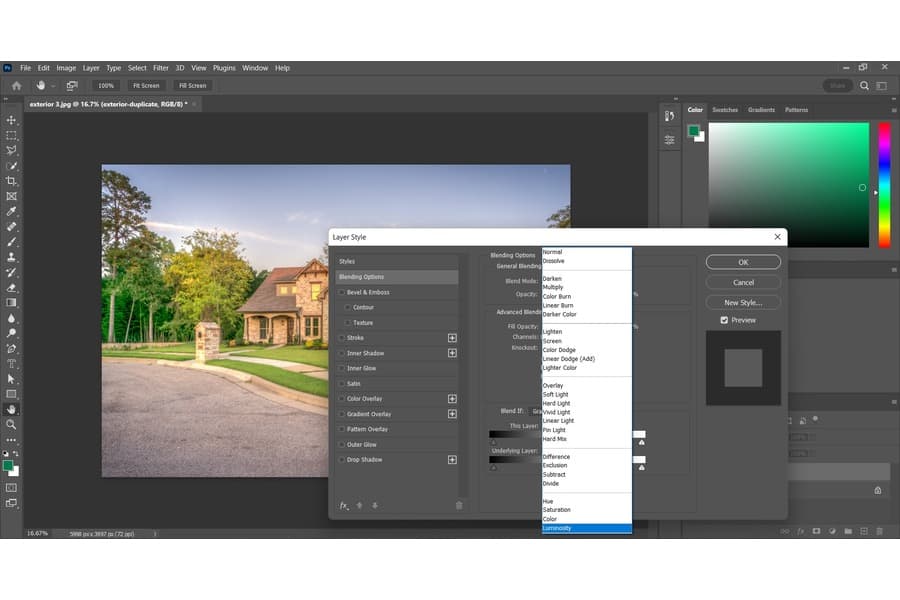
With the duplicate layer highlighted, launch the Blending Modes menu and set it to Luminosity. Typically, it's because you want to work on the contrast or the lightness of the pixels and not alter your photo's saturation or color.
Navigate to the menu, choose Filter, Sharpen, select Unsharp Mask, and the filter dialogue box will open. Set the Radius size of your choice and choose the level of sharpness to add.

Ensure the Preview option is checked to allow you to view how the filter is affecting the entire image. The Amount slider regulates the amount of sharpness while Radius controls the image pixels around the edges that the filter will affect.

The Threshold slider displays the amount of contrast you need to apply between zones for the filter to take effect and for them to be considered edges. Adjust the sliders without increasing them to extreme levels as you watch the effect. Once satisfied, click OK.

If the sharpening effect still looks unnatural, you can try adjusting the Opacity of the sharpened layer to make it more accurate. Additionally, you can try using layer masks to apply the filter to only certain regions of your photo.

You can do this by clicking on the Create Layer Mask button at the bottom of the Layers panel. Leave white on the areas you want to remain visible and paint in black the regions you want to be invisible.
After fine-tuning your image and ensuring that it is sharp and looks realistic and natural, flatten the image from the Layers menu and click on Save.
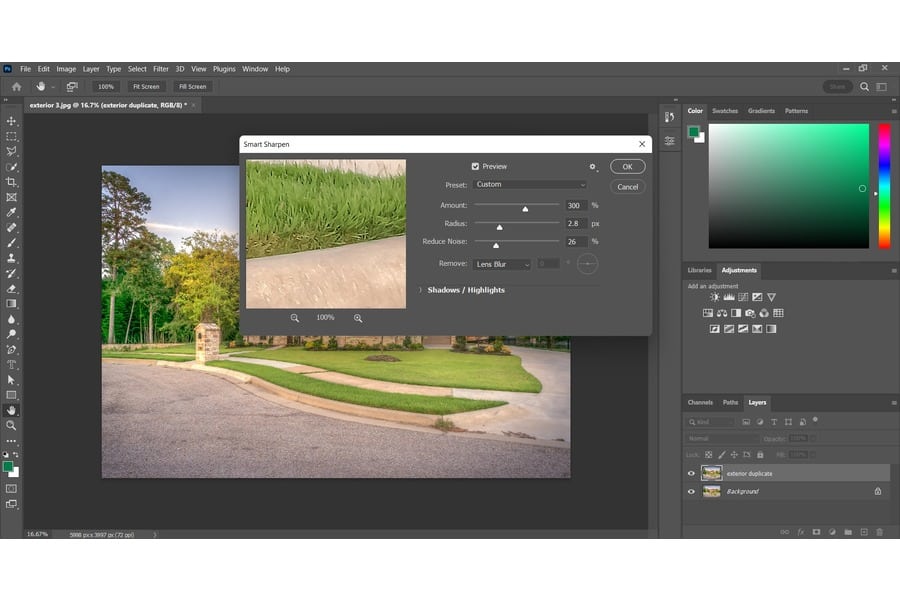
The smart sharpen Filter has some unique features that are not present in the Unsharp Mask. For instance, it detects edges and generates fewer color halos than the Unsharp Mask.
Like the Unsharp Mask, begin by opening the photo that requires sharpening and duplicating the original layer, and then use the following steps to sharpen the image.
Since you might not want to sharpen the whole photo, you can sharpen specific parts of an image using selective sharpening. Usually, you will need to use the brush tool for quick results. Duplicate the background and sharpen using the same procedure for filters.

Highlight the top layer and then choose Add Layer Mask. After all the sharpened layer’s regions are visible, a white mask thumbnail will appear near the layer thumbnail. Press Command + I (mac) or Control + I (Windows) to hide the sharpened layer. From the toolbar, select the Paint Brush and choose a soft brush.
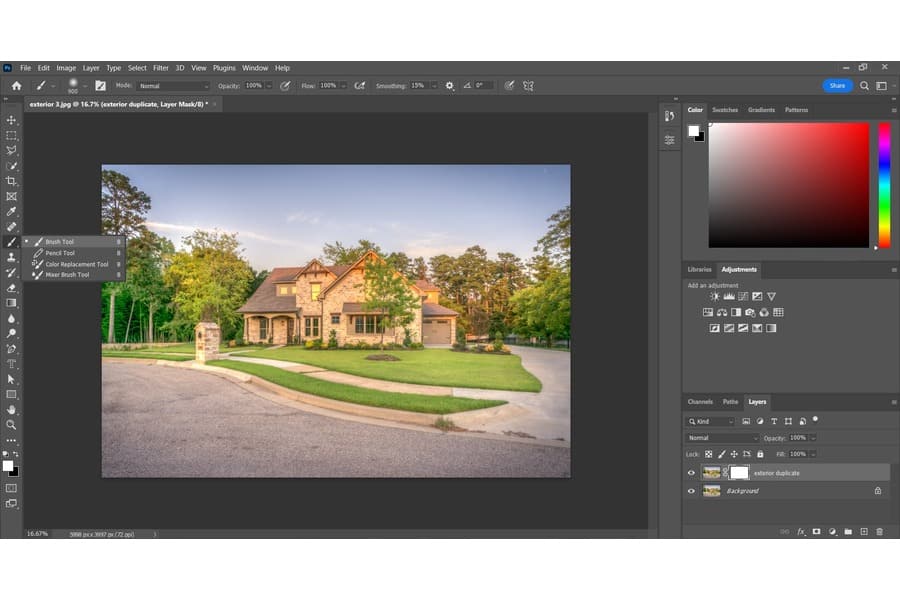
Highlight the thumbnail and set the color to White, and then paint the regions of the image you want to sharpen. Setting the color to white makes the hidden areas visible again, allowing you to sharpen only the required areas.
You can use the high pass filter to sharpen images without the sharpening tools. It is an ideal method of giving your photos a crisper and sharper appearance before printing or uploading. It also works well with the film and noisy images with lots of grain.
Double-click on the zoom tool from the tools panel to zoom in to 100% to precisely control the sharpness. With the layer highlighted, navigate to the Filter menu and choose the Convert for Smart Filters option to sharpen images without changing them permanently.
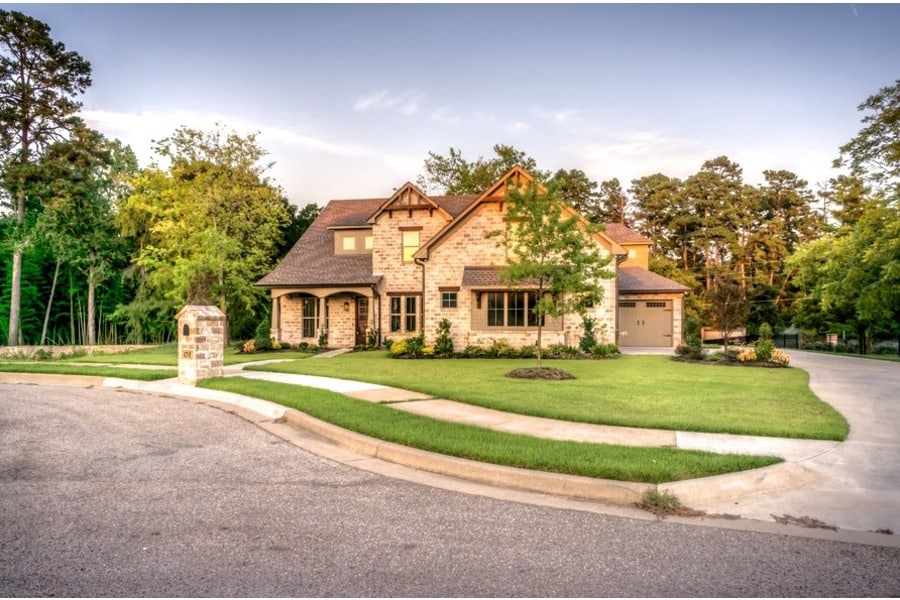
The attractiveness of a real estate property mainly depends on the quality of the photos. Knowing how to sharpen images in Photoshop CC will help improve the aesthetic looks of your real estate property images. Usually, you can sharpen images using the Unsharp Mask Filter and the Smart Sharpen Filter.


