


In today’s competitive real estate market, static photos are no longer enough. Buyers expect dynamic, engaging content that brings properties to life. Enter Reptov, a powerful new platform that transforms ordinary listing photos into professional marke ...


As an Amazon Associate we earn from qualifying purchases.
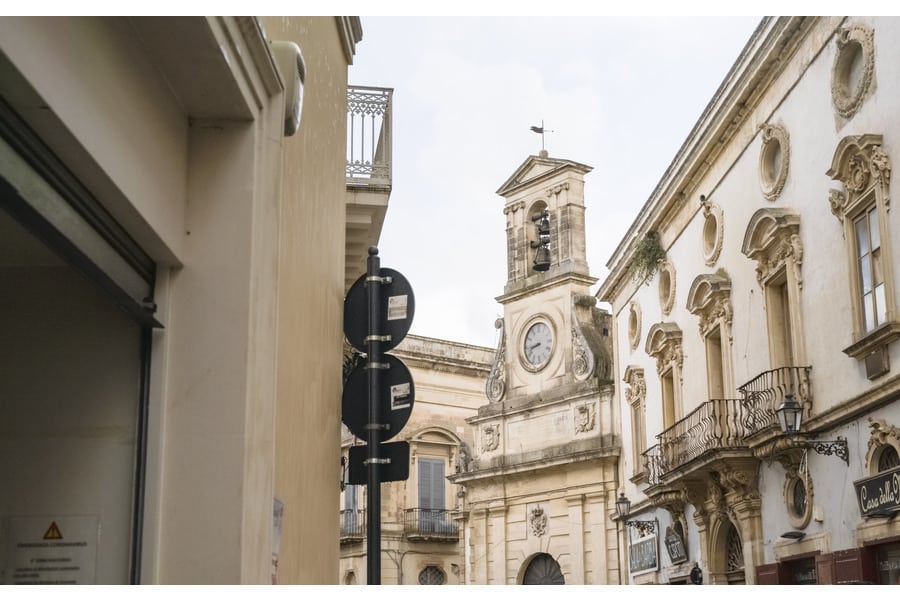
If shooting real estate interior photos in low light, you might need to increase the ISO to brighten the images. Since high ISO tends to introduce digital noise, learning how to reduce noise in Camera Raw allows you to shoot bright images and ensure noise reduction during post-processing editing in Photoshop.
Quick Navigation
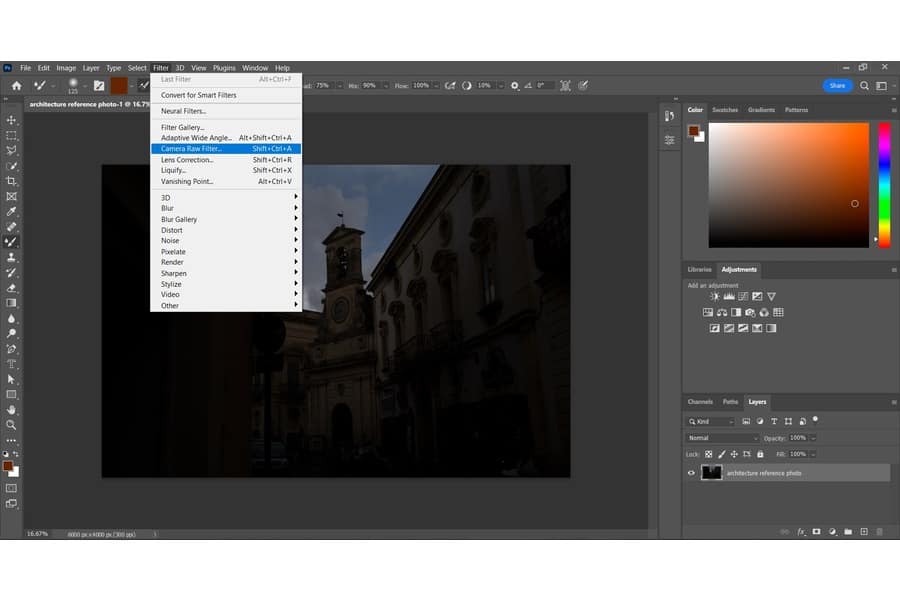
You can either use the Camera RAW filter or the Denoise command for luminance noise reduction while editing in Photoshop. To reduce noise, convert the image into a Smart Object and use the exposure sliders to apply the changes. For the AI-powered Denoise tool, you can access this by going to Photo and clicking on Enhance or selecting Denoise in the panel.
Usually, the amount of noise depends on the camera. For instance, low-end cameras can cause color noise even without increasing the ISO. Fortunately, you can use the following tips to reduce both color and luminance noise during the post-processing phase in Adobe Camera RAW in Photoshop.


If you have the RAW images on your computer’s hard drive, simply launch Photoshop, navigate to File, and then choose Open. Usually, Adobe Photoshop will open the Open File dialog box. To find what you need for reducing noise, browse through your hard drive folder using the Mac finder on Mac or file explorer on Windows PC.
Select the RAW file you want to reduce noise and then choose Open. Photoshop will automatically detect the file to be a RAW file and will open it directly in ACR for noise reduction processing.
If you have shot in JPEG or TIFF format due to storage space limitations or the camera not supporting the RAW format, you might still need to process them as you would with RAW images. Simply open the processed photo using the above steps for opening the RAW image for luminance noise reduction in Photoshop.

If you open and work on luminance noise reduction in this layer in ACR, you will affect the image pixels destructively. For instance, if you reduce the contrast to -10 in ACR and switch back to the Photoshop workspace, returning to ACR will reset the setting to 0.
Fortunately, Adobe Photoshop allows you to edit non-destructively through the Smart Objects feature. That means you can make image noise adjustments in ACR, save the changes, and come back and edit the color noise again. To convert the background layer to a smart object, right-click on it and choose Convert to Smart Object.
The newer versions of Photoshop allow you to use ACR as a filter to make global adjustments while working on noise reduction on processed image formats. When reducing noise, changing the layer to a smart object will change the name from the Background layer to Layer 0. At the same time, the filter will change to a Smart Filter.
To reveal more image detail, you can go back and forth to make non-destructive edits on luminance noise reduction in ACR.
Keeping in mind that little noise is in the form of light speckles, it might not be easily visible for precise editing and reduction in Photoshop. With the image open in Adobe Camera Raw, press the Z key on your keyboard to pick the Zoom tool.

Keeping in mind that little noise mainly results from using high ISO settings to brighten real estate interiors when shooting in bad lighting, there are chances that the photos are still not bright enough. Before reducing noise using Photoshop, it’s advisable to increase the exposure, so you won’t need to adjust it later.
When working on noise reduction, simply click and drag the exposure slider to the right until the photo is sufficiently bright. Usually, increasing the exposure will reveal the little noise more, allowing you to make more precise adjustments in images using Photoshop.
You can then proceed to reduce the noise using the Noise Reduction tab of the Detail panel in Photoshop. The following steps can reduce both the color noise, which is the colored artifacts in the photo, and the luminance noise, which appears like graininess in images.

After editing the image and reducing noise, click OK to save the changes on noise reduction. Usually, ACR will apply the adjustments on the layer and exit, returning you to the standard Photoshop workspace. Since you are working with a smart object, the Camera Raw Filter will be listed below the layer.

Photoshop has a new AI feature called Denoise, which automatically reduces noise while preserving color and image details.
It’s not possible to remove all digital noise using photo-editing software like Photoshop. Typically, most applications can reduce noise by applying a blurring effect that reduces the sharpness and contrast. That means trying to remove all color noise might result in a soft and less detailed image.
RAW images have more noise than JPEG files because they are unprocessed, and the data is raw from the sensor. Usually, JPEGs are processed files, and the DSLR sensor will have already applied some sharpening and noise reduction values.
Learning how to reduce noise in Adobe Camera Raw will help you process your RAW files with minimal noise pixelation or smoothen your processed JPEG and TIFF images before further editing them in Photoshop. With various noise reduction methods, you can reduce the noise by adjusting the luminance and color.


