


In today’s competitive real estate market, static photos are no longer enough. Buyers expect dynamic, engaging content that brings properties to life. Enter Reptov, a powerful new platform that transforms ordinary listing photos into professional marke ...


As an Amazon Associate we earn from qualifying purchases.
Do you want to try a film aesthetic in your shots yet don't have a film camera? Lightroom and Photoshop can help you bring a sense of nostalgia to your work, including real estate photos. Here is a step-by-step guide on how to edit pictures to look like film.
When editing in Lightroom, you first have to soften the shadows to reduce the contrast to make photos look like film. After that, adjust the white balance and tint sliders to create a warm yellowish-green white balance. Lastly, use the HSL sliders to mute the dominant colors before adding some grain effect.

You may also switch to Photoshop if you want more options for adding grain. Putting some dramatic, old-fashioned film effects can bring some flair to your photos. Simply follow these steps to give that nostalgic yet natural-looking charm.

Lightroom is one of the best tools to edit film-like images because this allows you to control most settings. With these steps, you can nail the analog vibes by mimicking the classic film aesthetic.
When editing photos in Lightroom, it's best to use RAW files to make targeted adjustments for the exposure, colors, sharpness, saturation, and white balance.
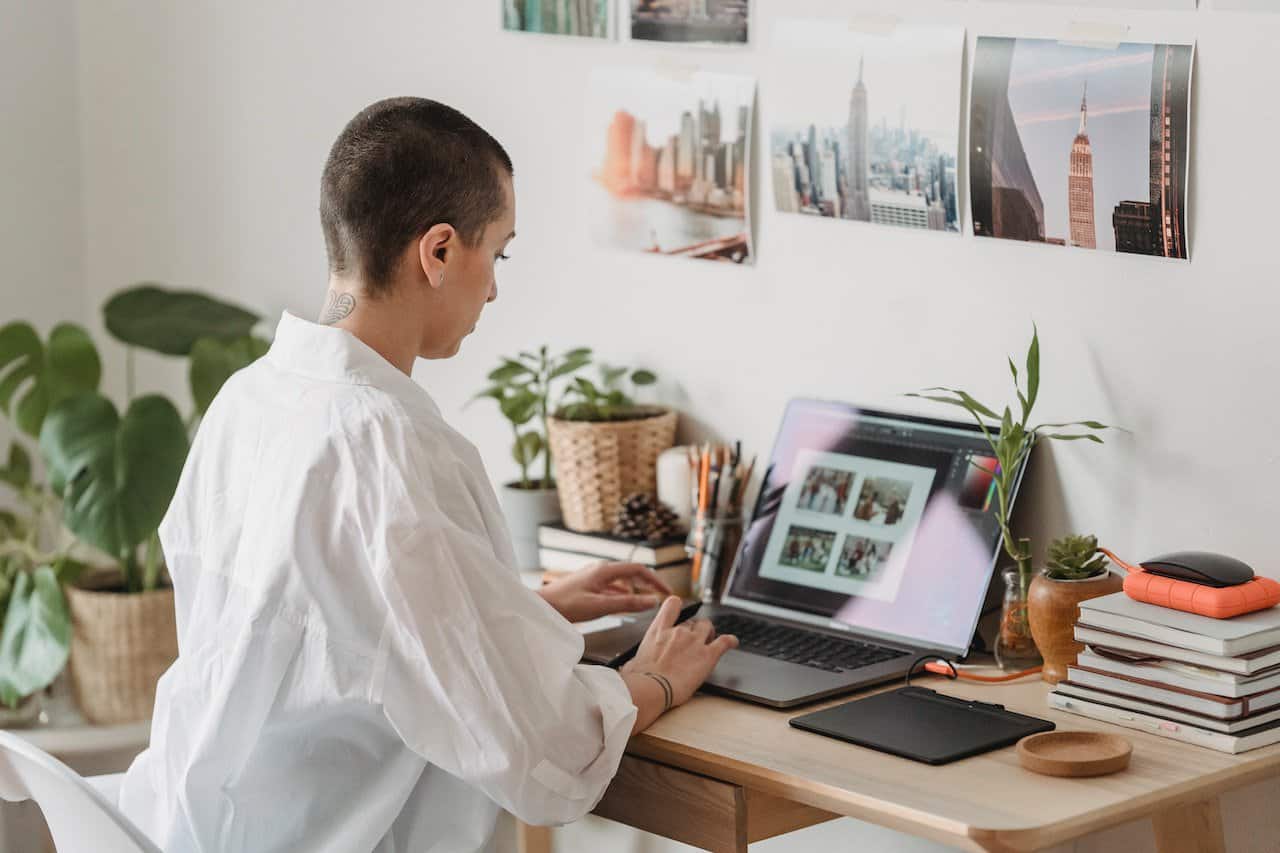
Some shots are also more likely to respond well to some presets or filters. For instance, choose pictures with reasonable amounts of midtones, shadows, and highlights you can modify. This usually works on architectural and interior photos.
In general, you must make your shots appear more exposed than usual. A film camera's small dynamic range automatically makes the highlight and shadows look faded. You'll need to adjust the lighting to mimic this effect.
For this part, you'll make a warm yellow-green hue to produce a retro film-like effect. You can experiment with colors for this step. This enables you to make specific parts of the real estate image stand out.
Muting the dominant colors is the next step to making your pictures look like they are taken using a film camera. The HSL sliders come in handy for this part.
Basically, the Saturation tab lets you desaturate the Red, Orange, and Yellow hues by dragging the sliders to the left. Meanwhile, adjusting the Hue slider will make Blue turquoise, Aqua greenish, and Green yellowish.
Unlike the HSL Panel, where you need to work on a range of colors, the Camera Calibration Panel focuses on the three primary colors. For example, you can tweak the blues a few degrees to the left to give a rich and warm aqua hue.
Crisp, sharp images with no background noise are the goal of digital
In contrast, the film aesthetic is characterized by a whole lot of grain. Think of the grain your shots have when you push the ISO too high.

Film camera sales have increased in the last few years, with more people loving the exciting and nostalgic appeal of film photos. However, you don't necessarily need to purchase a film camera to achieve this retro effect.
Another alternative is to use Photoshop to make your regular photos look like you've captured them using a film camera. Photoshop offers a wider range of vintage photo effects than Lightroom.
After opening the photo, make sure to duplicate the background layer to prevent damage to the original image as you edit. Go to Layer at the top of the interface, then click on Duplicate Layer. Rename this layer to Grain.
Create a new image adjustment layer and open the Levels tool. Lower the values for the Blacks and Whites to flatten the image. Continue creating a faded effect by lowering the contrast.
When editing film-like pictures, you'll want to achieve a vibrance that looks like it will fade over time. You can recreate this effect using the Curves tool.
Head to Filter at the screen's upper part, click on Noise and select the Add Noise option. You can experiment with the Amount, although 15% is a good starting point.
After adding the grain, press CMD/Ctrl + J to duplicate the noise layer. Next, go to Image at the top of the screen, click on Adjustments, and click on Desaturate. This step should make the colors less vivid, achieving a film or retro vibe.

Yes, you can apply film presets on real estate pictures. For instance, you can choose from default presets like Auto+Retro, Style: Cinematic, and Style: Vintage. While this is a great way to speed up editing, you must adjust elements like contrast, highlights, shadows, and saturation to achieve a natural outcome.
Huji Cam, Gudak Cam, and VSCO are some of the best mobile apps for taking film-like pictures. These apps let you take photos directly using your smartphone like iPhone for real estate and select a range of film effects to apply.
When using a good-quality DSLR, you can achieve a film-like effect by choosing a daylight white balance and a low shutter speed value like 1/50. You need to lower the contrast and raise saturation to achieve the grainy, reddish-yellow hue.
To make images look like film, you need to reduce the contrast, soften the shadows, create a warm yellow-green white balance, mute the colors, and add some grain. Even if you don't use a film camera, you can replicate the effect with a few simple steps when editing in Lightroom and Photoshop.


