


In today’s competitive real estate market, static photos are no longer enough. Buyers expect dynamic, engaging content that brings properties to life. Enter Reptov, a powerful new platform that transforms ordinary listing photos into professional marke ...


As an Amazon Associate we earn from qualifying purchases.
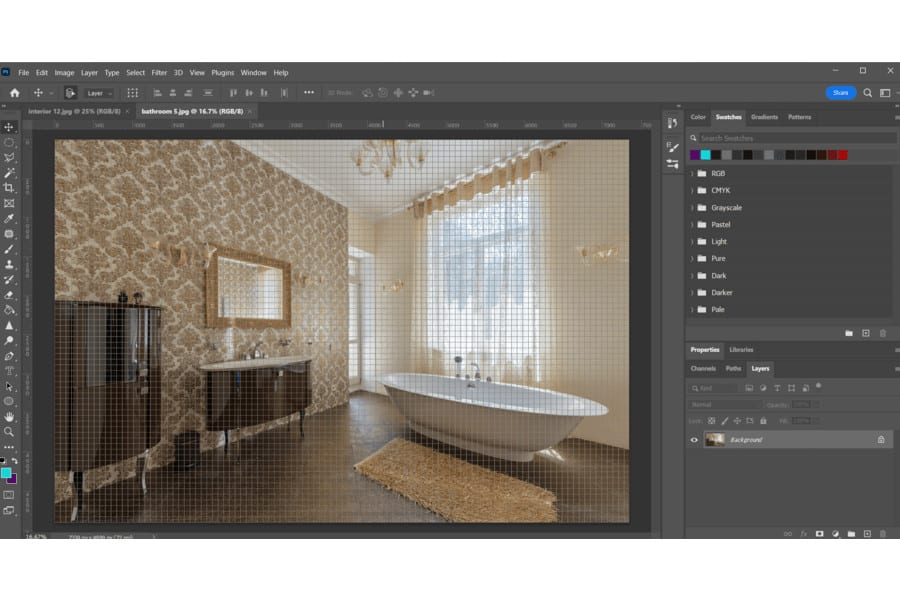
Photoshop's snapping feature automatically aligns objects within specific parameters. However, it can sometimes be frustrating for photo editors when Photoshop snaps to certain parts of a document, and you can't make precise adjustments. After editing countless projects in Photoshop for my real estate photo editing services, I've learned various ways how to stop Photoshop from snapping and customize the snap options.
Quick Navigation
The simplest way to stop Photoshop from snapping is to hold the CTRL (Windows) or CMD (Mac) key as you drag an object. Another option is to toggle the snap by pressing CTRL + Shift + ; (Windows) or CMD + Shift + ; (Mac). To disable the snap completely, go to View and deselect Snap to Grid.
While the snapping feature aims to help align objects, they can sometimes get in the way of your preferred position. The good thing is that there are different ways to turn it off and customize the snapping options as you edit real estate images.


The Magnetic Lasso tool is one of Photoshop's best edge detection tools. It enables you to actively search for an object's edge as you're moving around it. However, while the selection outlines to the edges, you can feel as if there's a magnet on your cursor.
Suppose you're using the Move tool while moving objects around in a document. Compared to the Lasso and Marquee tools, the Move tool doesn't automatically snap to the edges.
However, you can temporarily disable the snap while holding down CTRL (Windows) or CMD (Mac). Make sure to only press the CTRL/CMD keys after clicking and dragging the mouse cursor.
You may notice and wonder why the Crop tool also tends to snap to a layer object's edge or the corners of a document. This is because of the Snap To feature, which is quite handy at times.
However, you can still turn this off in the meantime by holding down the CTRL key (Windows) or CMD key (Mac) to size up the crop area.
Without permanently disabling snapping, you can toggle it on and off using keyboard shortcuts. Press CTRL + Shift + ; (Windows) or CMD + Shift + ; (Mac).

Photoshop lets you control how snapping works. You can do this through the View menu.
There should be no checkmark next to Snap. Now, you can freely place the object anywhere in the document without automatically adjusting the fit into the grid.
Suppose you want to disable the gridlines to stop snapping. This option will stop the gridlines from showing up, letting you have more freedom in controlling the snap.

If you're working on pixel-based images, Photoshop will move objects on the nearest pixel guide. Fortunately, you can also modify the Snap-to-Pixel settings to control the level of snapping or stop it altogether.

There may be instances when you're cropping an image and the border tries to snap to the corners of the document window. You can disable snapping selectively using these steps.
Go to View, choose Snap To, and click on your preferred option.

For this particular example, I recommend disabling snapping for Document Bounds. In this way, Photoshop won't confine items to a document's edges as you readjust their placement.
There are several benefits to using Photoshop to edit real estate images. One of the advantages is that you have the ability to customize the workspace to fit your workflow needs. Consequently, you can apply different real estate photography tips with the help of Photoshop.
For example, I normally use grids and snapping to straighten landscape, architecture, and real estate shots that can help attract interior designers. You can use horizontal and vertical lines to align elements. Meanwhile, the grids provide equal distance between the lines.
Furthermore, you can control the level of snap to the lines and grids. This is another option if you only want to stop the snapping partially.

The Snap feature causes objects and other Photoshop elements to snap to the grid, guide, or document edge. Whether you're working on marquees, shapes, slices, paths, or selection edges, you can use snapping to guide you with placements. It's a great feature to keep, especially if you're struggling to keep elements properly aligned.
For instance, when the object you're moving is close to a guide, it will "snap" to that guide. You don't have to move by yourself as Photoshop will find the nearest guide for you.
In graphic design and photo editing, alignment creates a clear and cohesive output. Without proper alignment, additional elements like furniture or wall art could look disarrayed. Meanwhile, text in posts can end up getting disorganized.
Now, if snapping is helpful, then why do you need to stop or turn it off at times? While this helps line up objects or selections, it can sometimes get in the way of making selective positioning.
When you have the snap feature turned on, you may notice a certain tug as you reposition elements. This can sometimes be disruptive to your editing workflow, especially if it's causing you to position the element incorrectly.
Think of it like a magnet. It would automatically snap to the closest gridline or near a document's edge, even if that isn't where you want to place the object. Once you stop snapping, you have much more freedom to move objects in a document.

To turn on snapping in Photoshop, simply go to View, select Snap to, and click on Grid. Gridlines will now appear when you return to the document, and you'll notice a tug in your cursor while moving objects.
To turn off Smart Guides in Photoshop, head to View, choose Smart Guides, and click the checkmark next to Smart Guides. You can do the same to toggle and show the guides when you need help lining up pictures or objects on the canvas.
To turn on Perspective Grid in Photoshop, navigate to Edit, select Preferences, and click the Perspective Grid checkbox. Go to the View menu on the top bar, choose Show, and click on Perspective Griad. Alternatively, you can use the keyboard shortcut CTRL/CMD + Shift + I.
Snapping is generally a helpful feature in Photoshop, although it can sometimes hinder freedom in choosing preferred placements. You can either turn off snapping or change the snap settings. Once you master the shortcuts, you can easily move around objects, layers, or other elements when editing real estate photos.


