


In today’s competitive real estate market, static photos are no longer enough. Buyers expect dynamic, engaging content that brings properties to life. Enter Reptov, a powerful new platform that transforms ordinary listing photos into professional marke ...


As an Amazon Associate we earn from qualifying purchases.
Photoshop is a sophisticated photo-editing software that allows you to design graphics and enhance the appearance of the photos. If your real estate property photos are not appealing enough, knowing how to use the mixer brush in Photoshop will help you change and improve their appearance.
Quick Navigation
A mixer brush is a brush in Photoshop that allows you to blend the brush color with the background color. It provides you with various painting techniques such as putting colors together on a brush, combining colors on the canvas and applying different paint wetness across a stroke.
It allows you to set both the rate at which the paint of the canvas dries and the amount of color you will pick from the region you are painting on. The following steps will help you set the right brush size, intensity, and color mixes for digital art and skin retouching.

Open the photo you will be working on in Photoshop by going to File and clicking on Open from the menu that pops up. Once the windows file explorer opens if using a Windows PC or the Mac Finder opens if you’re using a Mac, scan through your images to locate your image.

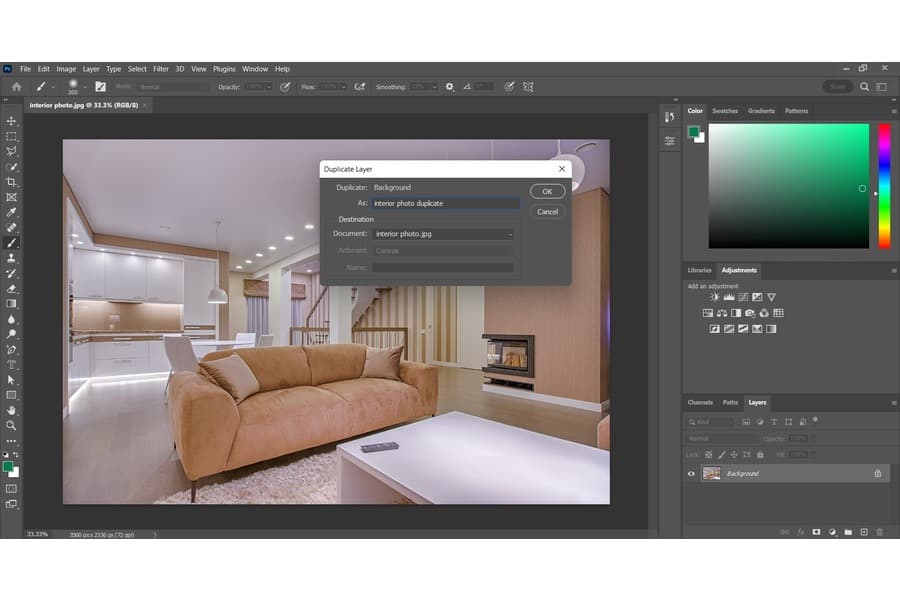
Considering there are higher chances of making a mistake while painting, it is advisable to work on the duplicate layer and preserve the original layer as a backup. Usually, opening an image in Photoshop makes it open as a locked background layer by default.
Right-click the background layer and then click on Duplicate Layer from the menu that appears. Normally, the properties panel of the new layer will appear, requiring you to rename the duplicate layer you created. Enter a name that can help you keep track of your layer edits, and then click OK to confirm.
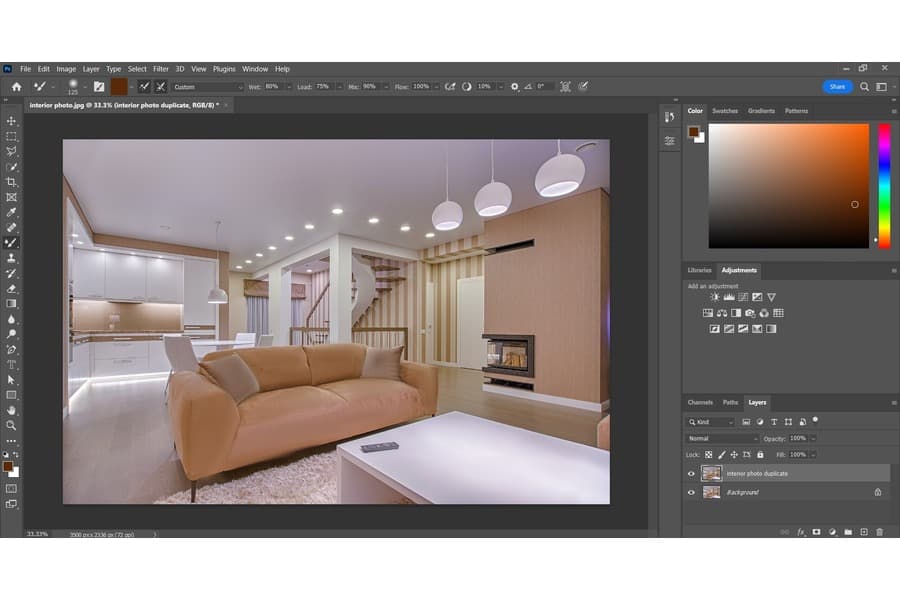
The Mixer Brush tool is one of the brush tool options in your toolbar. In order to access it, right-click on the paintbrush tool icon to open up a dialogue box. A dialogue box with four options will appear. Locate the Mixer Brush Tool and then select it to pick it.
Alternatively, you can select it by pressing the B key on your keyboard. Click on the brush size icon to set the tip and brush size of your choice. Alternatively, you can click on the right bracket key ] on your keyboard to increase the size of the brush and the left bracket key [ to reduce the size of the brush.
It’s advisable to set a brush size that will cover the entire patch or area you want to edit with a few strokes. Usually, this makes the blending look more natural and realistic.
Usually, you can set the foreground color using the swatches panel, color panel, or color picker. Select the color picker by clicking on the Background or Foreground color square.

Set your desired color, and the selected color will appear on the Color Preview. Additionally, you use keyboard shortcut keys Shift + Alt + right-click on your Windows PC or Shift + Option + Command + click on Mac OS.
Ensure the selected color blends well with the region you are painting, and then click OK to confirm and close the color picker.
With the color selected, hold down the mouse button and apply the new color to the image. For instance, if your image is painted red, you can select the brush and paint over the red patch with a blue color.

The brush will pick up the red color, blend it and add a hint of blue to produce purple from the two colors. If you want the brush to do away with a color you have added to your canvas, click the arrow near the color picker square and choose Clean Brush.
Typically, the clean brush option cleans all the colors from the brush, enabling you to blend out colors. You can use this brush several times or fill the brush again with the color you used. Click the arrow near the color picker square to fill the brush again and choose the Load Brush option.
There are different options in this brush tool that can add varying effects on the image colors. Usually, the variations affect how far the color spreads and how the brush mixes colors. Depending on the complexity of your real estate images and the color improvements they need, you can use one of the following brush options.


The brush may not blend colors effectively if you don’t set the wet and mix values high enough. You can try solving this issue by setting your wet and mix values high to get the blending effect. Keep in mind that third-party brushes can also come with bugs that can affect the mixer brush.
You can get rid of brush strokes on a photo by holding down the tilde key (~) on your keyboard while clicking and dragging your mouse on the regions you need to erase. Additionally, you can get rid of brush strokes on a separate layer by switching the blend mode to clear.
Knowing how to use the mixer brush in Photoshop allows you to improve the appearance of your real estate photos and create impressive effects. Remember to choose a color that can blend well with the region you are painting and apply some smoothening to reduce the shaky appearance.


