


Congratulations Alex Vincent, March 2024 PFRE Photographer of the Month! The theme this month was "Kitchen". Alex Vincent - #906 Yvonne Raaijmakers - #909 Peter Wingfield - #902 Here's what Alex has to say: Thank you for the award of Photographer of th ...


As an Amazon Associate we earn from qualifying purchases.
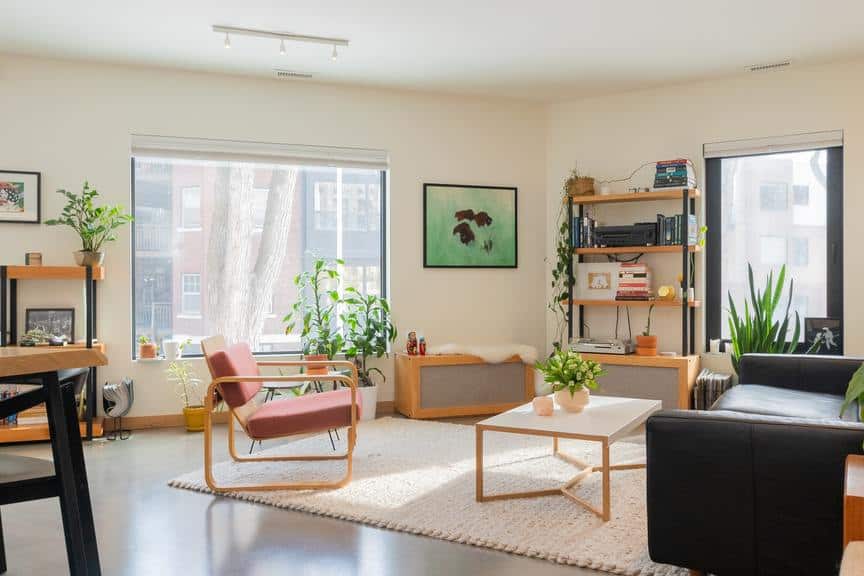
Are you wondering at what height to set your tripod? When should you shoot lower or higher? Height consistency is essential in real estate
Quick Navigation
Keeping the camera at a straight level for real estate
You might need to change height levels as you shoot in various kinds of properties, so I'm going to look into how you can achieve this without making the images look contorted.

Even though it's ideal to set the camera height at around 4 to 5 feet, there are instances where you need to adjust to capture the perfect real estate images. These are some pointers to help you make changes.
While the height may depend on the situation, a good starting point would be to shoot from the chest level because it resembles the viewpoint of a person walking around a property.
Putting the camera below the head gives a better-pleasing perspective than a top-down view. In effect, people can see and admire the floors and furniture instead of the cupboard or wall hangings.
To give viewers this feeling, you need to ensure the surface of tables and countertops is entirely in view rather than the underside.
While there's no hard rule about setting the height, adjusting from the starting point of 4 to 5 feet is an excellent way to shoot, depending on the type of interior.
Keep in mind that every property has various layouts, dimensions, and features. As you look through the viewfinder, you can gauge whether you need to shoot at a lower or higher perspective.
Another way to determine the correct shooting height is to put yourself in the shoes of the viewers. Real estate
Moreover, you have to highlight a room's key features and details. For example, if you need to photograph a living room with a great entertainment system, you can position your gear about the height of a person sitting down while watching.
Most rooms come with a plethora of horizontal and vertical lines, which can guide you whether you have the correct elevation or not.
A wide-angle lens broadens the perspective horizontally, giving emphasis on the floor and ceiling. Once you notice that your lines are leaning outwards or inwards, then that means you're on the wrong shooting height.
As opposed to regular real estate photos, it's best to shoot panoramas closer to 4 feet since viewers want to control what they see. When you lower the camera's height, people don't need to pan down constantly to see the key features. You can easily use a 360 camera for this purpose.
The shooting height is crucial in real estate
Height consistency is vital in real estate shots as you need to ensure that features don't look distorted or too enlarged and that lines remain straight. Working with the right shooting height of about 4 to 5 feet can improve your real estate
I'm sure others will have different points of view on this.


This is one of those this that separate one photographers style from another. If there is a special formula then all photographers would be the same. Each photographers has a vision and shows it thru their own style.
I tend to shoot from a lower height in the bedroom if it is a nicely decorated bed/room, just above the foot of the bed toward the headboard. I feel this gives the bed more of a "hotel" feel. My thought is that if I can convey that the room will feel like an escape each night, it will be more desirable.
I follow pretty much those same guidelines for camera height. I try to get midway between floor and ceiling, keeping camera level for non-converging verticals. For two-story spaces, I go higher. I notice that most RE photos in our MLS -- even for vertical spaces -- are horizontal (landscape) orientation. I go vertical (portrait) for two-story foyers and grand stairways for example.
Generally I shoot at about 4-5 feet. I tend to be a little higher than others, and then I point the camera slightly downward. I adjust my verticals in lightroom or photoshop. I realize that this crops my image a bit, but that's ok with me as I start with a pretty wide lens. I've received feedback from clients that ceilings are not very important so I'd rather have more floor than ceiling. This means I need to have my camera pointed down. I don't have a tilt shift lens so this is how I do it. Additionally, framing out the ceiling makes dealing with ceiling hotspots a little easier too.
I'm under 5' tall and, in my second half of life, I've found another profession that is perfect for me (g'head--try to guess the first). I am naturally shooting at 15-20" above counter height, no stooping required. Maybe my petite self is overly sensitive to this, but shots where the camera is lower make me very uncomfortable, like I'm a Hobbit (don't say it), or sinking into the floor. 36" seems like it would be far too low, but I'll try some experiments and see if I like it. I'll sneak in a little more ceiling if it is coffered or otherwise architecturally interesting, but generally prefer a bit more floor and do the fake tilt-shift/post fix like Trevor does.
I think it would be a great guide for starters to put the camera as low as you possibly can without making things look ridiculous. Sometimes that's very low, like when shooting at coffee tables and stuff.
The heights in the article are a good starting point. Bed heights can range a lot. I've had everything from Japanese style, on the floor mattress to four-posters that have a step to help climb in. With a standard US bed, the 15"-20" above the mattress guideline will work most of the time. I keep an eye out for balance with the rest of the furniture too.
There is a local office that uses a staffer to take photos (as opposed to "make" photos) that is vertically challenged. They will often shoot below counter height in kitchens and bathrooms and present a toddlers-eye view of a home that just doesn't work. The agents aren't paying extra for the photography so they don't seem to care very much. I haven't been able to sell anybody from that office on using professional photography. Their descriptions are all about the same and just a compilation of standard RE marketing clichés. I haven't given up on marketing to those agents, but they are a much lower priority if I'm out visiting open houses.
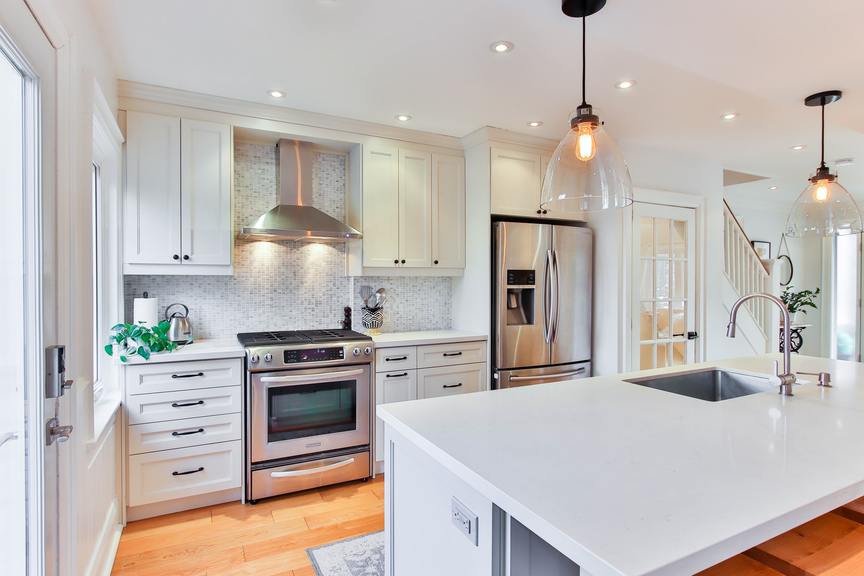
I look for a good balance of ceiling and floor for most rooms. In kitchens, I want to have some separation between an island and the counters. Most of the time I am adjusting my camera height and occasionally I'll do a little fake T/S if I need. With two story high rooms, I don't have excess ceiling issues so I am looking for a good composition that doesn't leave a huge amount of negative space with the walls. These rooms usually have tall windows that allude to the high ceiling so I don't have to actually show the ceiling to convey the height. I try to shoot horizontally exclusively. I feel it works better on the local MLS's which are formatted that way and when a gallery is viewed on a mobile device, the person doesn't have to keep flipping the phone around.
For me, the general starting point is 1/2 of the ceiling height. Since most homes have 8 foot ceilings +/-, I keep the camera at 48". With a level camera set half way between the floor and ceiling, all the walls will be straight and there will be a good balance between the floor and ceiling. Adjust as you go for composition. I typically stay at 48" for most rooms and I lower the camera 6-8" for bathrooms, in favor of more floor. Exteriors are all shot with a 24mm T/S set at 5'-6" (height of my eye).
Interesting to see the range of perspectives. Good topic.
For me, camera height is generally 54" for most rooms; varying as composition may require. Kitchens are almost invariably higher, enough to not show underneath the upper cabinets. Bathrooms, are whatever composition and reflective surfaces dictate.
As I discuss with my clients, we want to down play expansive ceilings in favor of floors. It's about selling square footage from that perspective.