


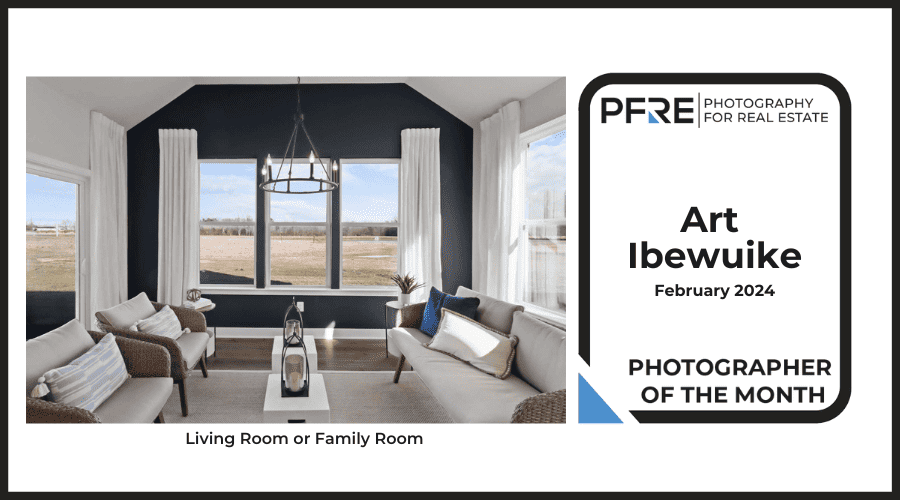
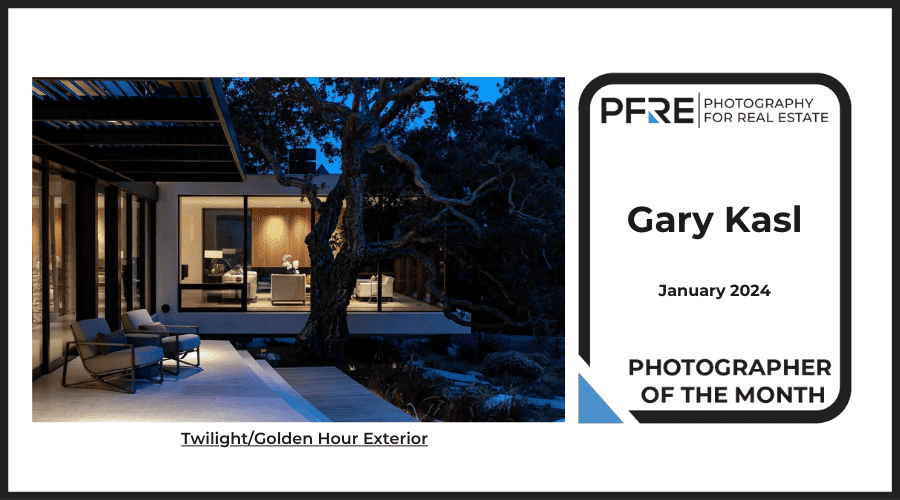
Congratulations Alex Vincent, March 2024 PFRE Photographer of the Month! The theme this month was "Kitchen". Alex Vincent - #906 Yvonne Raaijmakers - #909 Peter Wingfield - #902 Here's what Alex has to say: Thank you for the award of Photographer of th ...


As an Amazon Associate we earn from qualifying purchases.
in South Carolina asks:
I have a question regarding the creation of interior videos. HOW can a video be recorded which allows proper exposure of the room AND the view through the windows? This has eluded me for years! What is so simple to do with a flash in still
photography , seems impossible in video work. Do you just have to bite the bullet and bring in all sorts of studio lights or hire an assistant to carry diffuse portable lighting? I use a 3-axis gimbal, so camera-mounted lights are not really practical either.
I have used many different camera settings for real estate photography and found the best so far to be manual full HD at 1/125 at 60fps. I set the white balance in the mirrorless camera, as well as keep the ISO at 400. It's okay, but then there are the cursed almost-blown-out windows.
It seems that even the PFRE Video Award winners have this problem a good part of the time, so I'm guessing there is no easy solution.
Yes, the lighting issues shooting real estate property video is a challenge. Here are some suggestions:
What other advice do interior video shooters have for Phil?


It certainly is the big question when shooting video interiors and I struggle with it on every shoot. In my experience adding extra light rarely works. Occasionally if some where is really dark like a basement cinema room I might throw some light through a door or up from behind a sofa but otherwise I'm natural light all the way.
Re blown out windows, I find there are several things to consider:
- How important is the view? Talk to the client about how much they want to see outside. If it's not important (eg other neighbouring properties) then expose for the room and don't worry about the view.
- Time of day. As Larry / Fred Light point out, things get much easier towards the Golden Hour as inside / outside light levels match up more closely. Unfortunately it's rare to have the luxury of filming everything at these times, so try to prioritise the rooms with the most important views to shoot at the best time. Often I'll shoot such rooms twice or more - once when it's convenient and then later go back when the light is better later in the day if I get the chance. I would stress though - get a shot in the can first even if it's compromised rather than wait for those perfect conditions as (at least in the UK) the light / weather is just as likely to get worse as it is better. I operate the same policy for exteriors too.
- Direction that the room faces. I've had a couple of jobs recently where the money-shot living areas with the amazing views faced north. For shooting views, this is my nightmare scenario. The room is darker than it could be and the view is illuminated in full sun (as it faces south if that makes sense). In these cases the single shot option is really hard - which is not good news for those making continuous walk-throughs. Re solutions, Larry's editing tips are good. Shoot several well-exposed shots and cut them together. You just have to be careful to 'hide' the fact that you are doing this. Easier said than done but try to avoid cuts from big blown out windows directly to the perfectly exposed view. Another thing you can try is to shoot the same shot in different exposures and combine the two together - similar to Photoshopping a view in stills. This is easiest with a still shot, with the window view matted into the wide shot and can work fine, particularly if put a soft edge on the matt and also if there is some interesting action going on outside. I've done it on a pan too with a long mix between the high interior exposure and the lower exterior view out the full-height windows but it's trickier to exactly match the pan speed. As an aside re room direction, the south-facing room is often great for capturing the view in full sun as the room will be bright and the view will be in shade (it faces north). You may have to live with some nasty hot spots in the room but overall it can look amazing.
- Camera settings. Different cameras are better than others for dynamic range but in general the higher dynamic range the better. In terms of settings, go for a flat profile. My Sony Fs7 has a 14 stop range in s-log3 which is a great help for pulling a view. DSLRs tend to not be so good as this but look for the 's-log' or equivalent. It'll be more fiddling in post-production but really worth it.
You could get a camera with a lot of dynamic range. Expensive, but...
http://www.red.com/red-raven
If you are a Canon shooter, you can shoot Magic Lantern RAW, and it basically does the same thing as Hamish said by giving you a flat image you can work with. The window pull won't be perfectly clear by any means, but you can see out and it generally won't be blown out. If you have a dark room and a super bright day outside, I am not sure you can get around that no matter what you do, but you can get close by starting off with a flat clip to work with.
I've used exposure racks with a variable ND filter from time to time. Kind of like a focus rack, but with the brightness. I recall one of the past winners used this technique and I thought it was really useful. It allows for your audience to shift their attention from the interior space to the exterior view in one shot. You can see some examples in this video at :53 and 1:51. https://www.youtube.com/watch?v=3gha-GPLISA
Short of using all the suggested work arounds listed above, it really does come down to balancing the dynamic range of your interiors and windows. We all wish that wasn't the case, lol.
I just shot a new listing where views are EVERYTHING. Here's what I did:
https://youtu.be/mgrNdK7mYWw
1. Establish the views first with exterior shots = :10 & :28
2. Shoot out the window exposing the outside only = 1:27
3. Shoot within the golden hour (about 20 minutes) = 1:43 & 2:07 & 3:24 for the money shots
4. End with an exterior shot showing the views again = 3:44
In short, there's no easy way to get all your shots without blown windows. I did use some lights in this shoot = 1:51 because the room was just too dark and the paint color was off brown. So I just blasted the right corner.
Like Hamish said, get the easy shots first with a slider of tripod and if you're using a 3-axis gimbal, wait for that perfect light as the sun goes down.
Hi - Here's my take on it as I get asked the exact same question regularly and here's the answer cut and pasted from an email I sent the other day.
The short answer is I don't try and balance shooting bright windows with dark interiors. Even a professional television camera like the Sony F5 running SLog3 (which I have used quite a lot) can't handle large bright and dark scenes such as bright daylight windows and dark interiors.
The way I approach it is generally to expose and shoot for the rooms interior (generally looking back into the room with my back or side to the windows) and then I will expose and shoot for the view out of the windows. I will then edit the two shots back to back so as the viewer will make the connection between the room interior and the view out the window or doors if it is a feature.
In fact in any types of shooting I do I will always look to minimise the exposure differences in the frame whether its real estate interiors or shooting a talking head interview and that comes down to good shooting technique.
Hope that is some help.